Thursday, December 31, 2015

This Year's Christmas Projects

I knew the holidays would be busy this year, so I started my Christmas crafting early. As is tradition, there was LOTR-related crafting, this time in the form of painted and wood-burned ornaments:

The Eye of Sauron, painted on a papier mache blank sphere from Michael's (this makes three eyes now in my living room, all ominously watching everything), and JRR Tolkien's monogram and the White Tree of Gondor. 

Things got kitschy and punny real fast when I used the free Sewaholic Stanley Tree pattern to make a chemis-tree out of leftover science-y fabric:

SHB really enjoys hitting it because all the bells jangle madly.


I also made little felt ornaments for my brother and sister:

For my sister, a paramedic in training: a Gumbulance (ambulance on one side, her crazy orange cat Gummy on the other). For my brother, a car enthusiast: a Fenxibaru (the Subaru logo on one side, and his sleeping cat Fenxi on the other). There were many hours of meticulous cutting and blanket stitching. 


And then my mother-in-law unexpectedly passed away and all plans got thrown out the window. While I had the fabric purchased for several weeks, I didn't get around to making Mr. Cation's and SHB's matching Warriors jammies until a few days after Christmas. Thankfully, elastic waist pants are just about the easiest thing to sew, so I was done with both pairs in an afternoon. I'll wager it took longer to actually get a decent picture of them together, because SHB was having a hyper morning. Oh wait, that's every morning. And afternoon. And evening. And unfortunately, sometimes night. 

"Could you stop running around for just two minutes?" 
"Maybe it's easier if we just get Walnut into position first."
"No, this is not easier, because I can't chase him down with a cat in my lap."
I place toddler in Dad's lap. He chooses that moment to imitate a fish flipping out on the line, fighting for its life.
Let's try this again. "Look, I've got a basketball! Don't you want to come get it?"
(Also, check out my not-thought-through pattern placement on SHB's butt. The two Warriors logos slightly overlapped make...a butt. Good thing he's a toddler and nobody will care.)
Toddler tries to ram his head into Daddy's armpit, cat leaves. 
"Okay, sit in Daddy's lap. Walnut, come here."
"Try to look happy, everyone! Dangit, Walnut, I can't see your face."
Toddler seizes the ball, cat decides he's done.
Thankfully, he settles down not too far away. I think this is as good as it's going to get.
Attempts at a brothers' photo work slightly better because Daddy can help wrangle both boys. 

I had plans to make more LOTR-themed gifts for SHB, but those will have to wait until I have time. Let's just hope that I get to make them before he gets too old to enjoy what I have in mind! 

In the meantime, SHB continues trying to bug his older brother into playing ball with him. Typical little brother. 


Tuesday, December 8, 2015

That Diagonal Pants Dart!

When I get emails about my blog, 90% of the time they're about one of the following three topics:
  1. I love that ____ that you made! Can you make one for me, or can I buy yours? 
  2. Thank you for making your free dolman-sleeve top pattern available! Or less frequently, thank you for making your free raglan-sleeve top pattern. Here are pictures of my finished garment.
  3. Your pants alterations post is so helpful! But what did you ever do about that back diagonal fisheye dart? I can't find the answer anywhere!

While I try to respond to most emails in a timely fashion, sometimes I forget or am too busy, and then by the time I rediscover the email, it's been months and it's too awkward to reply at that point. So here are my standard answers:
  1. I'm glad you love it; I do too! If it's a sheet dress, there's pretty much a zero percent chance of me finding the same fabric again, so unless you have the fabric in hand, no. If you want mine, no, it's mine. But most importantly, you probably can't afford me, so unless you have at least a hundred dollars at your disposal, no. And even if you can afford it, I may not have time, as I have a day job and a small human being to wrangle.
  2. This is my favorite kind of email. Thank you, thank you, thank you for taking the time to let me know! I love seeing pictures of how it worked for you! 
  3. Ah, now this one deserves more than just a quick one-line reply. And it happens often enough that I feel like I should save myself some time and just put the answer in a blog post for easy access. 
Ironically enough, after I made my other adjustments, I didn't need the diagonal dart anymore. As I mentioned in my post about the finished pants, there was still a little bit of looseness at the back, but it was necessary for sitting ease. When pants are skin tight, there's no room for flesh to shift when one sits, walks, and generally lives life. 

Of course, other people may still need this dart, so I've done my best to illustrate how to alter the back pattern piece. I'm using a tiny pants pattern piece (it fits on a piece of printer paper) to show the steps, so if it looks a little weird, it's because of the scale of cuts I'm able to do on such a small pattern piece.

I've sketched the dart take up here in pencil. 

Cut a diagonal line from the edge of the pattern piece, up the outer edge of the dart, and then a diagonal line back to the edge of the pattern piece. I've sliced it and pulled it slightly to the side here so that you can see where I made the cuts.  

Make a series of horizontal cuts on either side of the stitching line about 1" apart (mine are about 1/4" apart on this tiny pattern piece) so that the stitching line stays intact and the little flaps are free to move on "hinges." This is difficult to explain, and the photo makes it difficult to see some of the cuts...my apologies. 

Once the cuts are all made, you can line up the bottom stitching line and push the stitching line until the outer edge of the dart (which you've cut) now meets the inner edge of the dart. The points on the new stitching line may need to be smoothed out, but you've essentially just removed the dart take up while still keeping the pattern piece flat!  


Hopefully that helps if that alteration is necessary for you. I'm going to put a link to this post on the pants alteration post so that I don't have to keep repeating myself in emails!


Tuesday, December 1, 2015

Bomber Jacket, Ten Months Late


Back when Rigel Bomber Jacket January was happening, oh, ten months ago, I was seriously sleep deprived, so I didn't have enough brain power to do more than glance at pictures and think, "Hmm, that looks like something I'd like to make, but with a higher neck." I filed the idea of a bomber jacket somewhere in my mind palace, and probably would have forgotten about it if it weren't for Tanit-Isis' cream lace bomber. I have a serious crush on everything she makes, so when I saw her non-collarbone-exposing jacket (why have a jacket that's so v-necked? I mean I guess you could wear a scarf, but it just seems weird to me), I decided I really needed to make my own. I collected McCall's 7100 at the next Jo-Ann's pattern sale, but every time I had the mental energy to think about finding an appropriate fabric, SHB was sleeping, and fabric bins are all in his room, so it wasn't until July that IG sewcialists helped me match a fabric to the pattern. In fact, it was Sewprettyinpink's version that finally tipped me over the edge because I'm pretty sure her fabric is exactly the same as mine!


After reading all the pattern reviews about how it runs small, I decided to cut a medium instead of my usual small. Good thing I did, because once I added in my lining, it's quite snug. In fact, if I were to make this again, I might even go up to a large if I use really bulky fabrics. Anyway, I cut out my jacket pieces, couldn't decide what I wanted to use as a lining fabric, and then stalled again because school started and then I was making play costumes. After the madness of the play (I will share pictures of the costumes soon!), I wanted to make something for me, so jacket it was! Since it's gotten so cold (don't laugh, Tanit-Isis of the #whinycanuck in wintertime hashtag, but it's in the low 50s and this California girl is dying), I went ahead and made a fleece lining. I was a little worried at first about not being able to slide my arms in and out of the sleeves easily, but ohhhhh the warm loveliness of fleece! I regret nothing, even if I always have to do an awkward tug to pull my sleeves down inside.


To add the lining, I just cut another set of the body pieces and stitched the front facing on top. In retrospect, I would have taken the time (all of two minutes, seriously, past me, are you really that lazy?) to trim the fleece out from under the facing pieces, because my seams got really, really bulky. Houndstooth + heavy jacket zipper + more houndstooth + interfacing + fleece + another layer of interfaced houndstooth = no actual lowering of the presser foot when I pressed the lever. Since the original pattern doesn't call for a lining, I had to improvise my steps, and when I finished I realized that I had bag-lined my jacket without any directions! Including that weird sleeve bit that I never understood in diagrams before! I know people bag-line jackets all the time and it's really not a big deal, but I'm secretly (publicly) proud of myself for visualizing and executing the procedure without having to look it up.


Summary
Pattern: McCall's 7100, with a lining added
Fabric: Three yards of 44" wide cotton houndstooth fabric, quite loosely woven and drape-y, from a donated stash, and 1 yard of 60" wide gray microfleece, from Jo-Ann's
Notions: I wasn't sure where I was going to get the ribbing for the cuffs, collar, and hipband, because I didn't want this jacket to look Becky Home-Ecky, so sweatshirt fleece from the stash wasn't cutting it. Enter WAWAK, a dry-cleaning supply company that also does sewing notions. They were recommended to me before by other sewists years ago, but I kept forgetting to look them up. I decided to try out their "garment enhancers" (their catalog's words, not mine), and you guys, this ribbing looks so real. I'm so glad to have discovered them!

Ribbed collar band, courtesy of WAWAK. I also added a little back facing piece so that I could attach a hanging loop.  

Cuffs and a close up of the faux welt pocket.
Ribbed bottom band and antiqued brass zipper.
Hours: I've gotten really bad at keeping track ever since SHB came along and my projects take weeks to complete. I'm going to estimate fifteen hours?
Total cost: The houndstooth was gifted from another stash, and the notions (about $7 worth) were provided free of charge by WAWAK, so it was just the fleece lining, about $6.
Will you make it again? I don't know that I need more than one bomber jacket, but it was a pretty easy and satisfying make (there's something about sewing your own outerwear that's especially rewarding), so I could totally see myself making another one at some point.
Final thoughts: As I said above, I am really pleased with making such a real-looking jacket! It's surprisingly cozy, too, which is nice, and while some may look down on the faux welt pockets, I liked that they were so simple (anything that doesn't require brainpower is a plus for me these days) but still look relatively good. I feel like I'm using all the English teacher blacklist words -- nice! good! -- but I think that's okay (look, there's another one!) because this is such a normal jacket. I toyed with the idea of a colorful lining or even fun pocket fabric, but in the end I just opted to use all the black, white, and gray fabrics from my stash. Which is fine (gah, can't stop) because it matches everything!


The whole time I was trying to take pictures of this jacket, SHB was wandering around squealing in excitement; apparently the self-timer function on the camera amuses him to no end.


Fancy your own ten-month-late bomber jacket? If you order your garment enhancers from WAWAK, for the month of December you can use the code WCD1215 for 10% off your order of $40 or more. If you're worried that you can't find $40 worth of stuff to order, allow me to offer you reassurances: you will find plenty of things! (Stuff, things...I am really working that English teacher blacklist.) I'm already making my own list (and checking it twice?); I love that I can get hair canvas and glow in the dark thread and a leather hole punch and brass blazer buttons all from one place. Seriously, looking through their catalog is like the sewing adult version of a Christmas toy catalog. Merry Christmas to yourself, anyone?


Sunday, November 29, 2015

You Get A Cat! You Get A Cat! You Get A Cat!


Actually, nobody gets real cats...just cat fabric! It's time for the Put A Cat On It! Sew Along winner announcements: I chose a random winner from each category to win a yard of cat fabric from Feline Dezine.

In Category 1, Cat Fabric, congratulations go to Carihomemaker! You get cat fabric!

In Category 2, Cat Design Elements, congratulations go to AJmeows! You get cat fabric!

In Category 3, Cat Accesories, congratulations go to The Fabric of Time! You get cat fabric!

And our final winner, for the "grand prize" of a Spoonflower welcome pack, Megan! You get cat fabric! Well, actually you can get whatever fabric you want; it doesn't have to be cats.

Ladies, please email me at cationdesignsblog[at]gmail.com so I can arrange to have your prizes sent to you. Thank you to all fourteen of you who participated; it was a small sew along, but $112 has been donated to the SFSPCA from Walnut, so I'm grateful to you all for helping to celebrate his birthday!

Saturday, November 21, 2015

Cat-alongers!


*sheepish wave*

Ahem, sorry for just disappearing after announcing the Put A Cat On It Sew Along! Halfway through October, I suddenly discovered that I was in charge of costuming my high school's theater production; it had previously been canceled, which was why I thought I had time to run a sew along. Of course, it would be re-booted, but with a different play that required more costumes...but that's a story for another post. Also because my first project was a fail (thanks to mis-measured seam allowances), and then the play took over my life for the rest of the month, I didn't actually sew anything for myself or Walnut. *gasp* Go ahead, award me the Worst Sew Along Host Ever award.

At any rate, here I am, back to say that WOW, I am loving what you guys have made to show your love for cats! I did my best to round up all the IG, Flickr, and blog posts that I could find, but if you sewed and I didn't catch you, post a link in the comments and I'll add you to the prize drawing pool!

Category 1,  Cat Print Fabrics: This category was terrible because all of your guys' projects made me want to go out and buy more fabric.

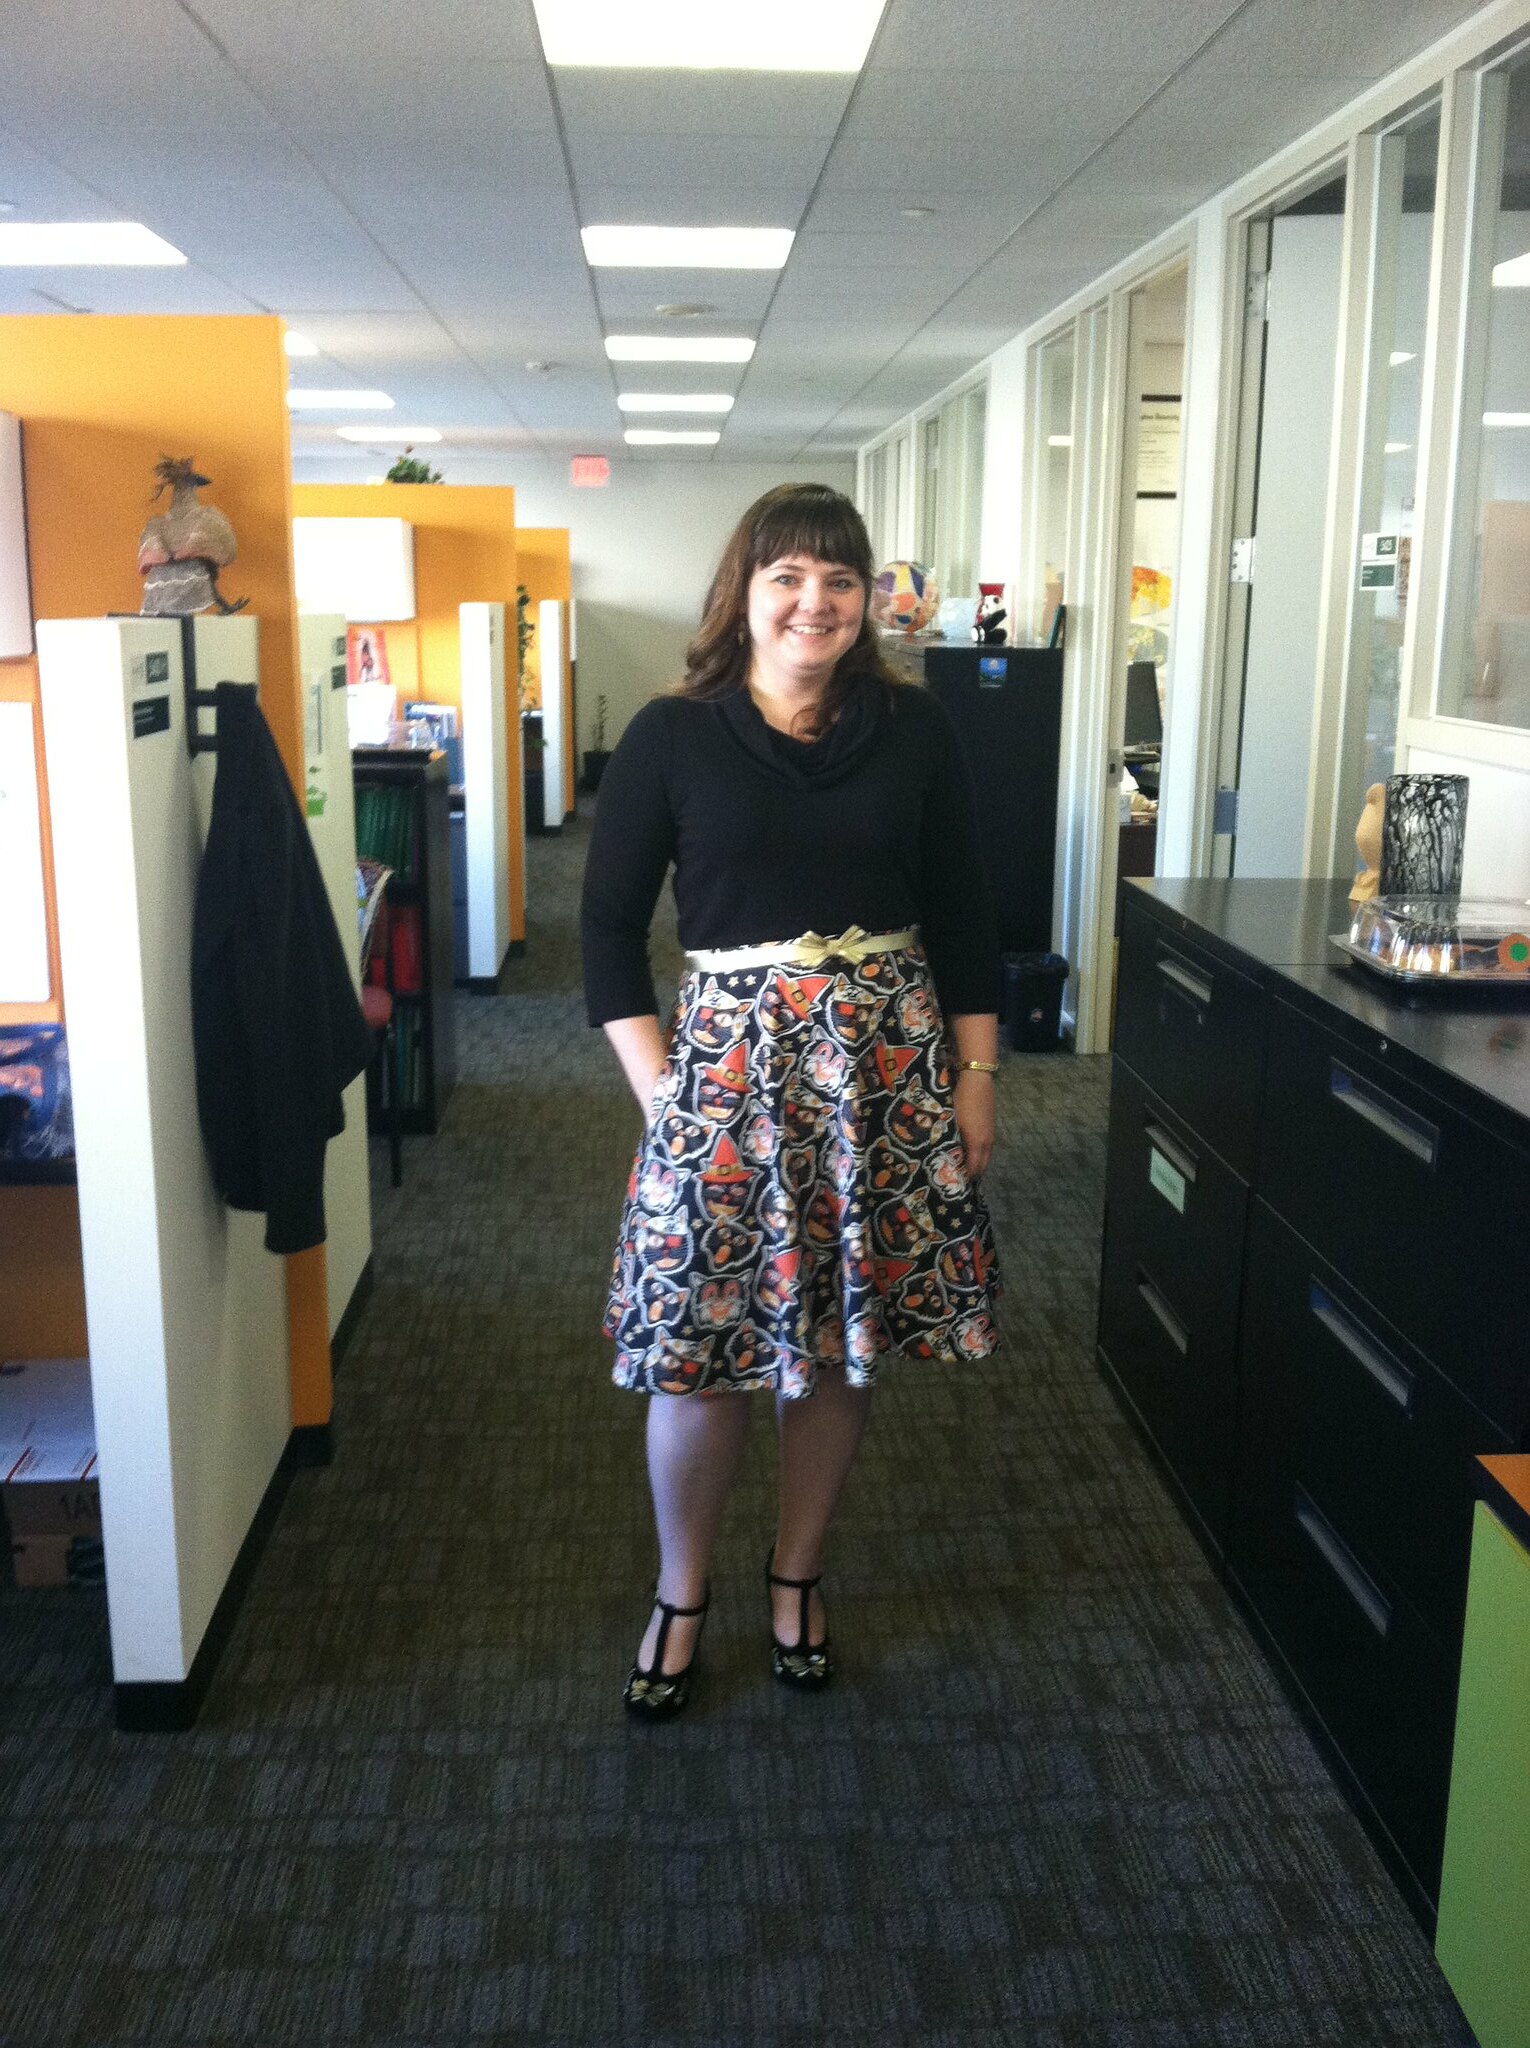
Adrienne made a cat skirt for Halloween (the perfect time of year to wear cats!):


Megan made good use of the Gertie cat chiffon and made a delightfully swishy circle skirt:


If skirts aren't your thing, there's also this running top that Sarah Jane made for herself:

She also made a pair of leggings from the same fabric for her daughter...lucky girl!

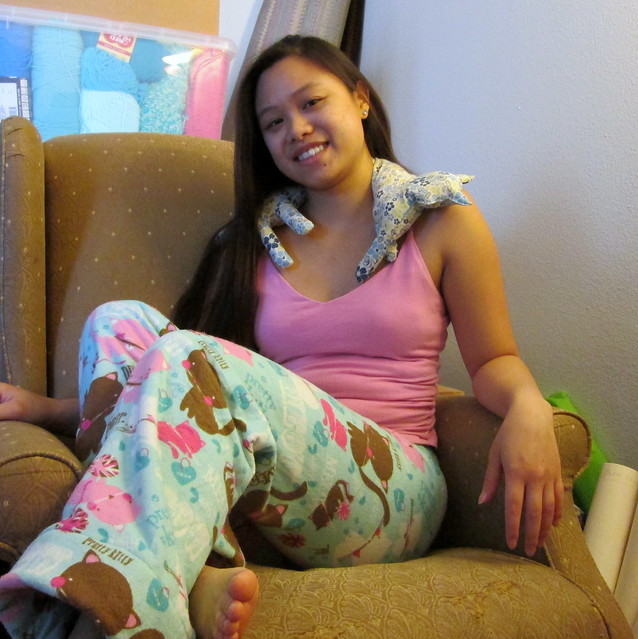
And if like me, cold days make you want to snuggle at home instead of go out running, check out the flannel jammies and neck warmer (with tutorial!) that Laura whipped up:


Chrichrimano made a Seamwork Akita top from this cool neutral fabric with "cattish leopard animals" on it.


While I can see how the no-waist-definition look might not suit everyone, I still think it looks cute! Speaking of cute, check out Cari's little boy!


And then if you're not so into wearing your cats, Ginny made a very useful pouch with a perfectly centered black cat:


Category 2, Feline Design Elements: AKA, I am seriously in awe of the patience of quilters and embroiderers!

Lemonadefish made several awesome quilt blocks featuring quilts, so you should definitely check out her Instagram, but this is my favorite because it's cat-on-cat.


Ms. Lusty's appliqued mini-quilt is also gorgeous:


AJmeows made several items for this category: a cat quilt block,


a cat hat,


and a cat dress! I think I'm going to die now. Why didn't I have a little girl?


After a brief dabble in embroidery, I sort of forgot all about it, but Erica's adorable embroidered cats for a baby quilt make me want to take it up again, you know, in my copious amounts of free time...


Molly's embroidery of a cat head peeking out of her shirt pocket was directly inspired by her cat Potato:

A photo posted by Molly Pruess (@mtoferet) on


Category 3, Actually For Cats: There were only a couple of sewing projects that fell in this category, but I seriously love them.

The Purling Princess made Halloween-themed bandannas for her cats so that they could be festive for Halloween. They're made to go over breakaway collars, which is awesome, and she made a tutorial, which is even more awesome:

It's a black cat wearing a black cat print fabric...how meta is that?

The Fabric of Time made the most adorable little tents for her cats. I'm seriously tempted to make matching ones for Walnut and SHB!

It's like a Portal game, but with cats!


Okay, that's all I could find...let me know if I missed you. I'll announce the winners on Friday after Thanksgiving!

Thursday, October 22, 2015

Everybody Wants to Be a Cat

And if you grew up watching Disney movies, go ahead and sing the rest of with me: "...because a cat's the only cat who knows where it's at!"


If you're not into using (or buying) cat-print fabrics, you can always join in the cat sew along fun by adding cats to your normal fabric/garments. This is also an easier/faster way to join in if you're pressed for time but still want to join in the cat-along! I've previously added cat faces with fabric markers and with appliqué, as well as entire cat silhouettes. One might argue that four cat sweaters is enough for anyone, but I confess I'm still eyeing these pins that I've saved:

Colorblock with applique.
[source]
Easy to recreate with a fabric marker even if you can't draw!
[source]
I can't decide if this is creepy or amazing. Oh come on, who am I kidding, it's totally amazing.
[source]
There are no words for how much I love this.
[source]

While poking around Pinterest for inspiration, I also came across some old-timey cat fashion -- okay, okay, they're Halloween costumes or outfits for fancy dress parties -- that shows that crazy cat ladies desiring to broadcast their status goes back at least a century!

I can't find an original source for this picture, but it appears to be a Victorian roller derby girl with a black cat theme going on?
In the category of what NOT to do: put a taxidermied cat bust on your head.
[source]
This 1920s Halloween dress has the most adorable spooky cat silhouette on it!
[source]
I can't seem to find any information about this image, but I'm in love with the panniers and the little cat corsage. That staff looks like a big feather duster though...


What can I say, those toxo parasites make us do ridiculous things...anyway, I hope these have been inspirational if you're still trying to figure out what to do!