Wednesday, September 30, 2015

Introducing the Put A Cat on It Sew Along!

If the mole is the unofficial mascot of chemistry, cats might just have to be the unofficial mascot of sewing. There are so many enthusiastic cat lady sewists out there, and I for one love it when these feline helpers pop up on my IG feed. When I shared my cat sweatshirt a couple months ago, quite a few of you voiced a desire for a cat-themed sew along, and I just couldn't stop thinking about it. After consulting Walnut, we decided to host just such a thing during his birthday month!


Walnut turns eight on October 30 this year, so consider this his cat version of Promaballoona? (But less organized, because face it, I've got a cat and SHB underfoot, plus many student papers to grade; also less alcohol, because cats drink virgin wine.)

So how does this work? During the month of October, join me in sewing cat-related items in these three CAT-egories (sorry, I couldn't help it):
  1. items made from cat-print fabrics, either garments or accessories, or even home dec!
  2. items with cat elements, like applique or quilt blocks or elbow patches
  3. items for cats, such as toys or beds (or even garments, if you are courageous).
I'll be posting my own cat-themed makes, and at the end of the month we'll do a round-up of all the fabulous feline projects. While sewing your own unique cat fashion is incentive enough on its own, sew alongs are always better with prizes, so we do have some little bonus gifts!

If you've ever tried to sew garments from cat-print fabrics, you probably despaired, as I did, when you realized that first, they were very hard to find, and second, that what fabrics you could find were kids' pajama flannels from big box stores with ridiculous prints like this:

[source]

I love a ridiculous print as much as the next person, but sometimes you just want something more subtle, or at least more unique (oh, the horrors of running into somebody with a dress made from the same cat print fabric! I jest, of course, because that has never actually happened to me before. If that has happened to you, I would dearly love to hear about it). Well, despair no longer, furriends (sorry again), because Walnut and I are here to help you out. For each of the three categories listed above, I'll randomly select a winner to receive a free yard of fabric from Feline Dezine, an online store that specializes in cat fabrics. Like, there are PAGES and PAGES of them. If that's too overwhelming for you, I'll be spotlighting some of my favorites in another post.


And then of course, if you want to make your own cat fabric with whatever print or fiber content or weave you desire, there's always the print-your-own option with Spoonflower. I'll pick one grand prize winner to receive a Spoonflower Welcome Pack, so you can design or choose your own cat fabric in anything from performance knit (so you can take fake cats running with you, because heaven knows, a real cat won't) to silk crepe de chine (so you can take cats to a fancy dress party, I guess). I've wasted several hours browsing their many, many fabulous designs, so there's sure to be something to suit your fancy (feast. Wow, I really need to stop).


In case that's not enough incentive, for every participant in the sew along, I'll donate $8 (since Walnut's turning eight) to the San Francisco SPCA, which is where my family adopted Walnut's cantankerous but lovable uncles, Fenxi and Gummy. I love that the SPCA helped found the No-Kill Movement, plus they're super active with outreach and prevention.


I'm planning on making something in each category, but I'm still trying to decide what exactly. If you're in, leave a comment with your plans (or lack thereof)! You can also tag your makes on IG or Twitter with #putacatonitsewalong, and join the Flickr group to post your photos. I hope you'll join Walnut and I in celebrating sewing with cats!


Thursday, September 24, 2015

Historical Sew Monthly #9: Brown Aviator Cap

After my whole rant about Asian-American history, I figured I pretty much had to make the rest of the components for my aviatrix costume. Since the current challenge for the HSM is to make something brown, I went ahead and made a leather aviator cap/helmet. And then I realized that to complete the outfit, I really need goggles, but that will have to happen at a later date. In the meantime, let's welcome a familiar friend, the Yellow Balloon Head Stand-In!

I only have yellow balloons because they make such good Eyes of Sauron. Much as I would've liked to see the Eye of Sauron wearing an aviator cap, though, I didn't have time for such a detailed Sharpie job, so have a cat face instead. 
Back view. The tabs are for holding the goggle strap in place, like in this cap.
About two thirds of the extant caps I found had their chin strap on the left side, so I went with that.
 Snaps on the other side, like this cap and this cap
Top view. I went so slowly while topstitching and was petrified of making a mistake the whole time. Worth it, though, because look how neat and professional it looks!

I didn't feel like modeling a leather cap lined in flannel while wearing a leather jacket lined in faux fur when it was 95 degrees outside, so forgive the lack of pictures of me wearing it. I'll do proper pictures once I make goggles to go with it!

If I were more patient/had more forethought, I would've gotten leather adhesive to stick the pieces together for the tabs and straps. Unfortunately, I'm not, so I left the edges raw and just stitched them together. Many extant caps have raw edges/edges that are coming apart though, so I feel okay about this. 

As always, I did lots of research via Etsy listings for vintage caps, then decided what parts I wanted to ignore and what aspects had to be kept to get the look. This being a 40s-look, it's probably the most historically accurate item I've sewn, since the materials are all pretty much the same (leather is leather, flannel is flannel, snaps are snaps, etc.) now as back then. After figuring out the pattern, the fun/tedious part was making all the little fiddly bits that make it look like a "real" aviator cap: little tabs to hold the goggle strap in place, ear flaps, and the chin strap. Since I'm not an actual aviatrix, I don't know how my version would stand up to cold winds at some-thousand feet in the air, but it certainly feels pretty warm and gives off the right impression!

Aside from the new-ness of my leather, doesn't this look like it could be an Etsy listing for a vintage WWII aviator cap?

A peek at the insides: The tabs are sewn through both the leather and the flannel lining because I wanted the lining to be held in place somewhat. The second little hole is for the eyelet under the ear flap, presumably for hearing, like in this extant cap


Summary:
Pattern: I started with this pattern and shrank and modified it to fit my head.
Year: Meant to be late 1930s-WWII
Fabric: Half a leather pencil skirt, originally thrifted back in 2012 for making a leather steampunk corset, but I never got around to it. I lined it with tan-colored cotton flannel, per this description of a similar cap.
Notions: The leather binding I cut myself from the waistband of the skirt, and the snaps and grommets were just from Jo-Ann's.
How historically accurate is it? I'd say 90%...my highest score ever! All the materials are pretty spot on, the pattern is comparable, and it would definitely be recognizable by people at the time. The only thing I'll fault myself on is that the leather looks too pretty. If it were a real aviatrix's cap, it'd probably be more scuffed up.
Hours to complete: Twelve? The muslining took a while, and I sewed very, very slowly and carefully since there's no seam ripping with leather! Trying to get the tabs more or less identical took a while too, as did learning to use the snap setter properly.
First worn: Not yet. I still need to make goggles.
Total cost: The skirt originally cost $8, but I only used half, and then the flannel was $2 and the snaps $6, for a total of $12.

When I said that it hadn't been worn yet, I guess technically that's not true, as SHB, Walnut, and Frodo, a lobster, and an octopus all tried it on.

The lobster looks rather dashing, don't you think?

The octopus was the only model that was able to wear it with the chin strap buttoned. It looks pretty pissed, though, probably because it doesn't actually have a chin and it's just buttoned over its tentacles. 

Tuesday, September 22, 2015

Stingray Plushie Pattern

Even though I'm teaching my two favorite classes, both of which are not new preps for me by any means, and my students are pretty great for the most part, this school year has still been one of the hardest I've ever had, and we're not even two months in! I think it's the struggle to balance time with SHB, time with Mr. Cation, time to grade papers (oh, how I sometimes wish I had a job that didn't require bringing work home!), and time to pursue my own interests. Poor Walnut often gets the short end of the stick, as do the papers, to be perfectly honest. SHB is so active now (and going through separation anxiety) that there's really no getting things done while he's awake. As a result, all my plans for a grand Pinterest-worthy theme party (Sandra Boynton! LOTR! Cats!) for his first birthday went out the window. Still, even if we were ordering cake and using mismatched disposable plates, the maker in me couldn't let go of at least making something, anything, just to personalize it a little. 


Since SHB's baby shower and nursery were marine-themed, I decided that making sea animal plushies/beanbags for his little baby friends was a doable undertaking that would be kind of on theme. Because Back to School Night was two days before his party (seriously, whose bright idea was it to have a birthday at such a busy time of year?!), I ended up staying up late the night before to make six of the simplest animal I could come up with: stingrays! No fiddly little flippers or fins or snouts, no appliques or weird pieces to insert. For a last minute project, it went fairly quickly and smoothly for once!

Except for this guy: his eyes make him look especially derpy, and his mouth ended up too large and off-center...ah, the perils of being the experimental prototype!


I didn't stop to take pictures while I was churning these guys out, so no tutorial here, but it's a fairly simple plushie to make. If you'd like to take a stab at your own stingrays, I've made the pattern (and brief instructions) available for download here

Summary:
Pattern: My own
Fabric: 1/4 yard of gray anti-pill fleece (enough for six rays)
Notions: Are polyfil fiber stuffing and beads notions?
Hours: Four, from drawing the pattern to cutting to sewing and then stuffing. Not bad at all! Assembly line stitching works really well for mass production.
Total cost: All the materials were from my stash, but they probably average out to about $1.50 each.
Will you make it again? After reading the comments on my IG posts, I'd love to make an enormous one big enough to wrap yourself in like some kind of weird sleeping bag/bed-type thing. You could sleep on the stuffed body and use the fins like blankets! Maybe one day when SHB is older he'll want such a thing. 
Final thoughts: Even though I didn't "hardcore" DIY SHB's party, I'm really glad I at least personalized this one little aspect. Plus, it was an immensely satisfying race-to-beat-the-deadline project, which is unusual. I secretly love the intense motivation I get when I'm mildly stressed and racing against the clock, but that situation usually sets me up for stupid mistakes when I'm sewing. I guess it's a testament to how easy these guys were to make that they came together so smoothly!

I don't know what it is about a whole bunch of more or less identical tiny derpy animals all gathered in one spot, but I was seriously in love with my little rays and ever so briefly considered keeping them all. Instead, I settled with posing them with my manatee made from the same gray fleece:


Speaking of the manatee, this is probably the coolest thing that's happened to one of my plushie patterns:

No, Dr. Frankenstein didn't get ahold of it. 

I don't understand most of what the article is about, but if you scroll halfway down she talks about using the manatee pattern to house a device to help stay in touch with their elderly loved ones. So neat! Also, w00t w00t female engineers!

Monday, September 7, 2015

Sewing Indie Month: the Walkley Dress


Having just finished a stressful week at work and an involved sewing project, I was ready for a no-fail sewing project. You know, a creative version of a digestif, to help decompress after a heavy (mental) meal. Enter the Walkley Dress (or should I say in walks the Walkley Dress...) and its promise of three main construction seams and just a handful of finishing seams! Perfect for a palate cleanser.


The Walkley is part of Pattern Bundle #2 for Sewing Indie Month, which is a great way to get a bunch of new popular patterns for an amazingly low price! (If you think I sound like a used car salesman, that's fine because I am actually a huge proponent of used cars. My family never bought new cars while I was growing up, and still doesn't, and they've all been good to us, so frankly I'm not really bothered by that comparison. Besides, teaching is like being a used car salesman everyday: "See this chemistry? It's excellent! You will like it so much if you give it a chance! I know chemistry don't sound super exciting but I promise you, chemistry is SO important in your life! If you learn this chemistry now, you'll get good grades AND a bonus teacher rec letter for college apps!" Wow, that was a lot longer aside than I expected it to be.) These are the patterns included in this bundle:

I've had my eye on the Nettie bodysuit all summer (t-shirts that just keep riding up when tucked into skirts are a big pet peeve of mine), my pre-pregnancy bathing suit could definitely use a Nautilus replacement, and the Jasper sweater dress would be perfect with leggings come fall (which won't happen for another two months here in CA; please don't shoot me). Those are a little more involved than I want, though, plus I would have to track down appropriate fabric, so I figured I'd try out one of the less well-known patterns, the Walkley Dress. Actually, as far as I can tell the only versions out there are the original photos that come with the pattern. It's always interesting to test a new pattern, and more so if nobody else seems to have, but thankfully there's not too much potential to go wrong with a t-shirt dress! 

Having just made a knit dress with the fold-over method of finishing, you'd think I'd had enough of that questionableness. But! The Walkley has actually planned for this finish and adjusted the pattern piece accordingly, so there's no trying to get a too-small circumference to play nicely with the larger rest of the garment. I love it when designers are thoughtful like that! 

I made version #1 in an acrylic with spandex sweater knit from the remnants bin at Jo-Ann's, hemmed to be tunic-length to go with leggings and tall boots. Because it was a 4-way stretch fabric, I ended up taking up the armhole and curving in the side seams at the waist to get the fit I wanted. I didn't take pictures of the original cut, but it just looked a size too big because of how the weight of the fabric pulled it down. I thought I was getting ahead of the game when I corrected my pattern piece, but I ended up regretting it when I made up version #2 in a significantly less stretchy knit. I knew these remnants from the previous knit outfit were less forgiving, but somehow I wasn't thinking straight and made it up with the same corrections, which yielded not a body-skimming, semi-fitted comfy dress, but a gotta-suck-in-my-stomach almost body-con type fit. Oops. Oh well, at least they were just remnants, and I do like the nautical look. Lesson learned, always think carefully about fabric choice!

SHB wanted in on the photoshoot. He's in the middle of a clingy phase so if he's awake, he wants to be touching me.
Thankfully, babies make good accessories.
They also like playing with your accessories.
This is the only photo I have of the back.

Summary:
Fabric: 1 yard of acrylic with lycra sweater knit with a faint bronze pattern; see previous dress for the stripey dress fabric info
Notions: None! So simple. Love.
Hours: 2 for the first one to cut and assemble pattern, play around with serger settings, and correct the pattern, then 1 for the second one 
Total cost: $5 for the sweater knit (yay for 50% off remnants!), probably less than $2 for the other
Will you make it again? I'd like to try more adventurous slicing of the pattern, but that's dependent on getting more knit fabric. Given my current theoretical attempts to stashbust, probably not for a while.
Final thoughts: This very basic t-shirt dress is one I could have figured out on my own, but sometimes it's just nice to have somebody else figure it out for you, you know? Also, I'm kind of in love with the boat neck right now, as most of my previous makes are scooped/V-neck. This is a problem because SHB has figured out where milk comes from, so if my shirts are low enough in front, he'll try to reach his hand down and help himself, only to get upset when my boob doesn't come up and out like some kind of extendable hose with a milk nozzle. I'm sorry, is that TMI? At any rate, he doesn't try if my neckline is super high, so boat neck = win.

Outtakes from the photoshoot: SHB likes trying to dive out of my arms. We've had some close calls.

If you'd like to make your own grabby-SHB-proof Walkley (or, you know, other patterns), the bundle is on sale until Thursday! At $3.80 per pattern, it's pretty much the only time you'd get indie patterns for Jo-Ann's sale prices. Even better, 20% of the proceeds go to Women for Women, a charity dedicated to helping women who are affected by war and conflict. There's also a bunch of pretty great prizes for sewing up these patterns to participate in Sewing Indie Month

For more Sewing Indie Month bloggers and their makes from this bundle, check out:

He's crawling so fast now! He loves all electronic things so when he realized the camera was the one making all the beeping noises, he made a sprint for it.
Oh hai, I can haz camera?

[Disclaimer: Mari invited me to help promote Sewing Indie Month and its associated pattern sales. I received the patterns for free; all opinions are my own.]

Tuesday, September 1, 2015

Take That, Jeb Bush!

It's not Asian Pacific American Heritage Month until May, but indulge me here and allow me to get on my soapbox for a spell.

Right before we moved away from TCOCC, I was on a roll with Historical Sew Fortnightly challenges. I was only working part time, I lived near the LA Fabric District and FIDM and its inspirational garments, and I had plenty of creative energy. I was actually in the middle of making my rich lady pirate ensemble (completed the coat, waistcoat, and shirt, still need to make pants and a cravat) when we moved, but then I started working full time again and then we were house-hunting and then I got pregnant and then I had SHB...and now here I am two years later, finally getting back into things. The HSF has turned into the Historical Sew Monthly, which is definitely an easier time frame, and I've been stewing this idea in my mind for almost a year -- plenty of time to do research and more research and then some thinking and wait, better do a little more research just in case!

What made me decide to finally take the plunge and get to sewing? Well, I'd already been thinking about sinking my teeth into a non-knit project, but then Jeb Bush went and lit a fire under my tail with his comments about "anchor babies" and Asian-Americans. While I have been fortunate to grow up in San Francisco and attend public schools with large APA populations (unlike many APAs, I have never had to be "the Asian kid"), I have definitely experienced my share of othering statements like "No, where are you really from?" and "Wow, your English is so good!" I've sat through more stories of that-one-time-I-went-to-an-Asian-country-you-look-Asian-so-you-probably-want-to-hear-about-it than I care to remember, and when it's time to play the what-celebrity-do-you-look-like-most game, most people would probably just default to Lucy Liu because she's the only really well-known Asian-American actress (although there was also Anna May Wong in the 1930s!).

Just yesterday Mr. Cation and I tried to think if there were any Asian-American superheroes (and not just the one-dimensional Asian Sexy Dragon Lady/Ninja/Bruce Lee Type tropes), and all we came up with were B-list heroes like Jubilee, Wind Dragon, and Dana Tan (who is not even a superhero, just a superhero's girlfriend). Granted, we're only semi-into superheroes, but that's still pretty sad. While I love that there are more APAs in diverse fields now (instead of the stereotypical STEM fields, we've got Margaret Cho, Elaine Chao, and Jeremy Lin!), there aren't many APAs who are just cool. Okay, I guess Jeremy Lin is cool if you're a teenage boy, but I mean cool like "full of thrilling heroics," not "I can put a ball through a hoop."

Source

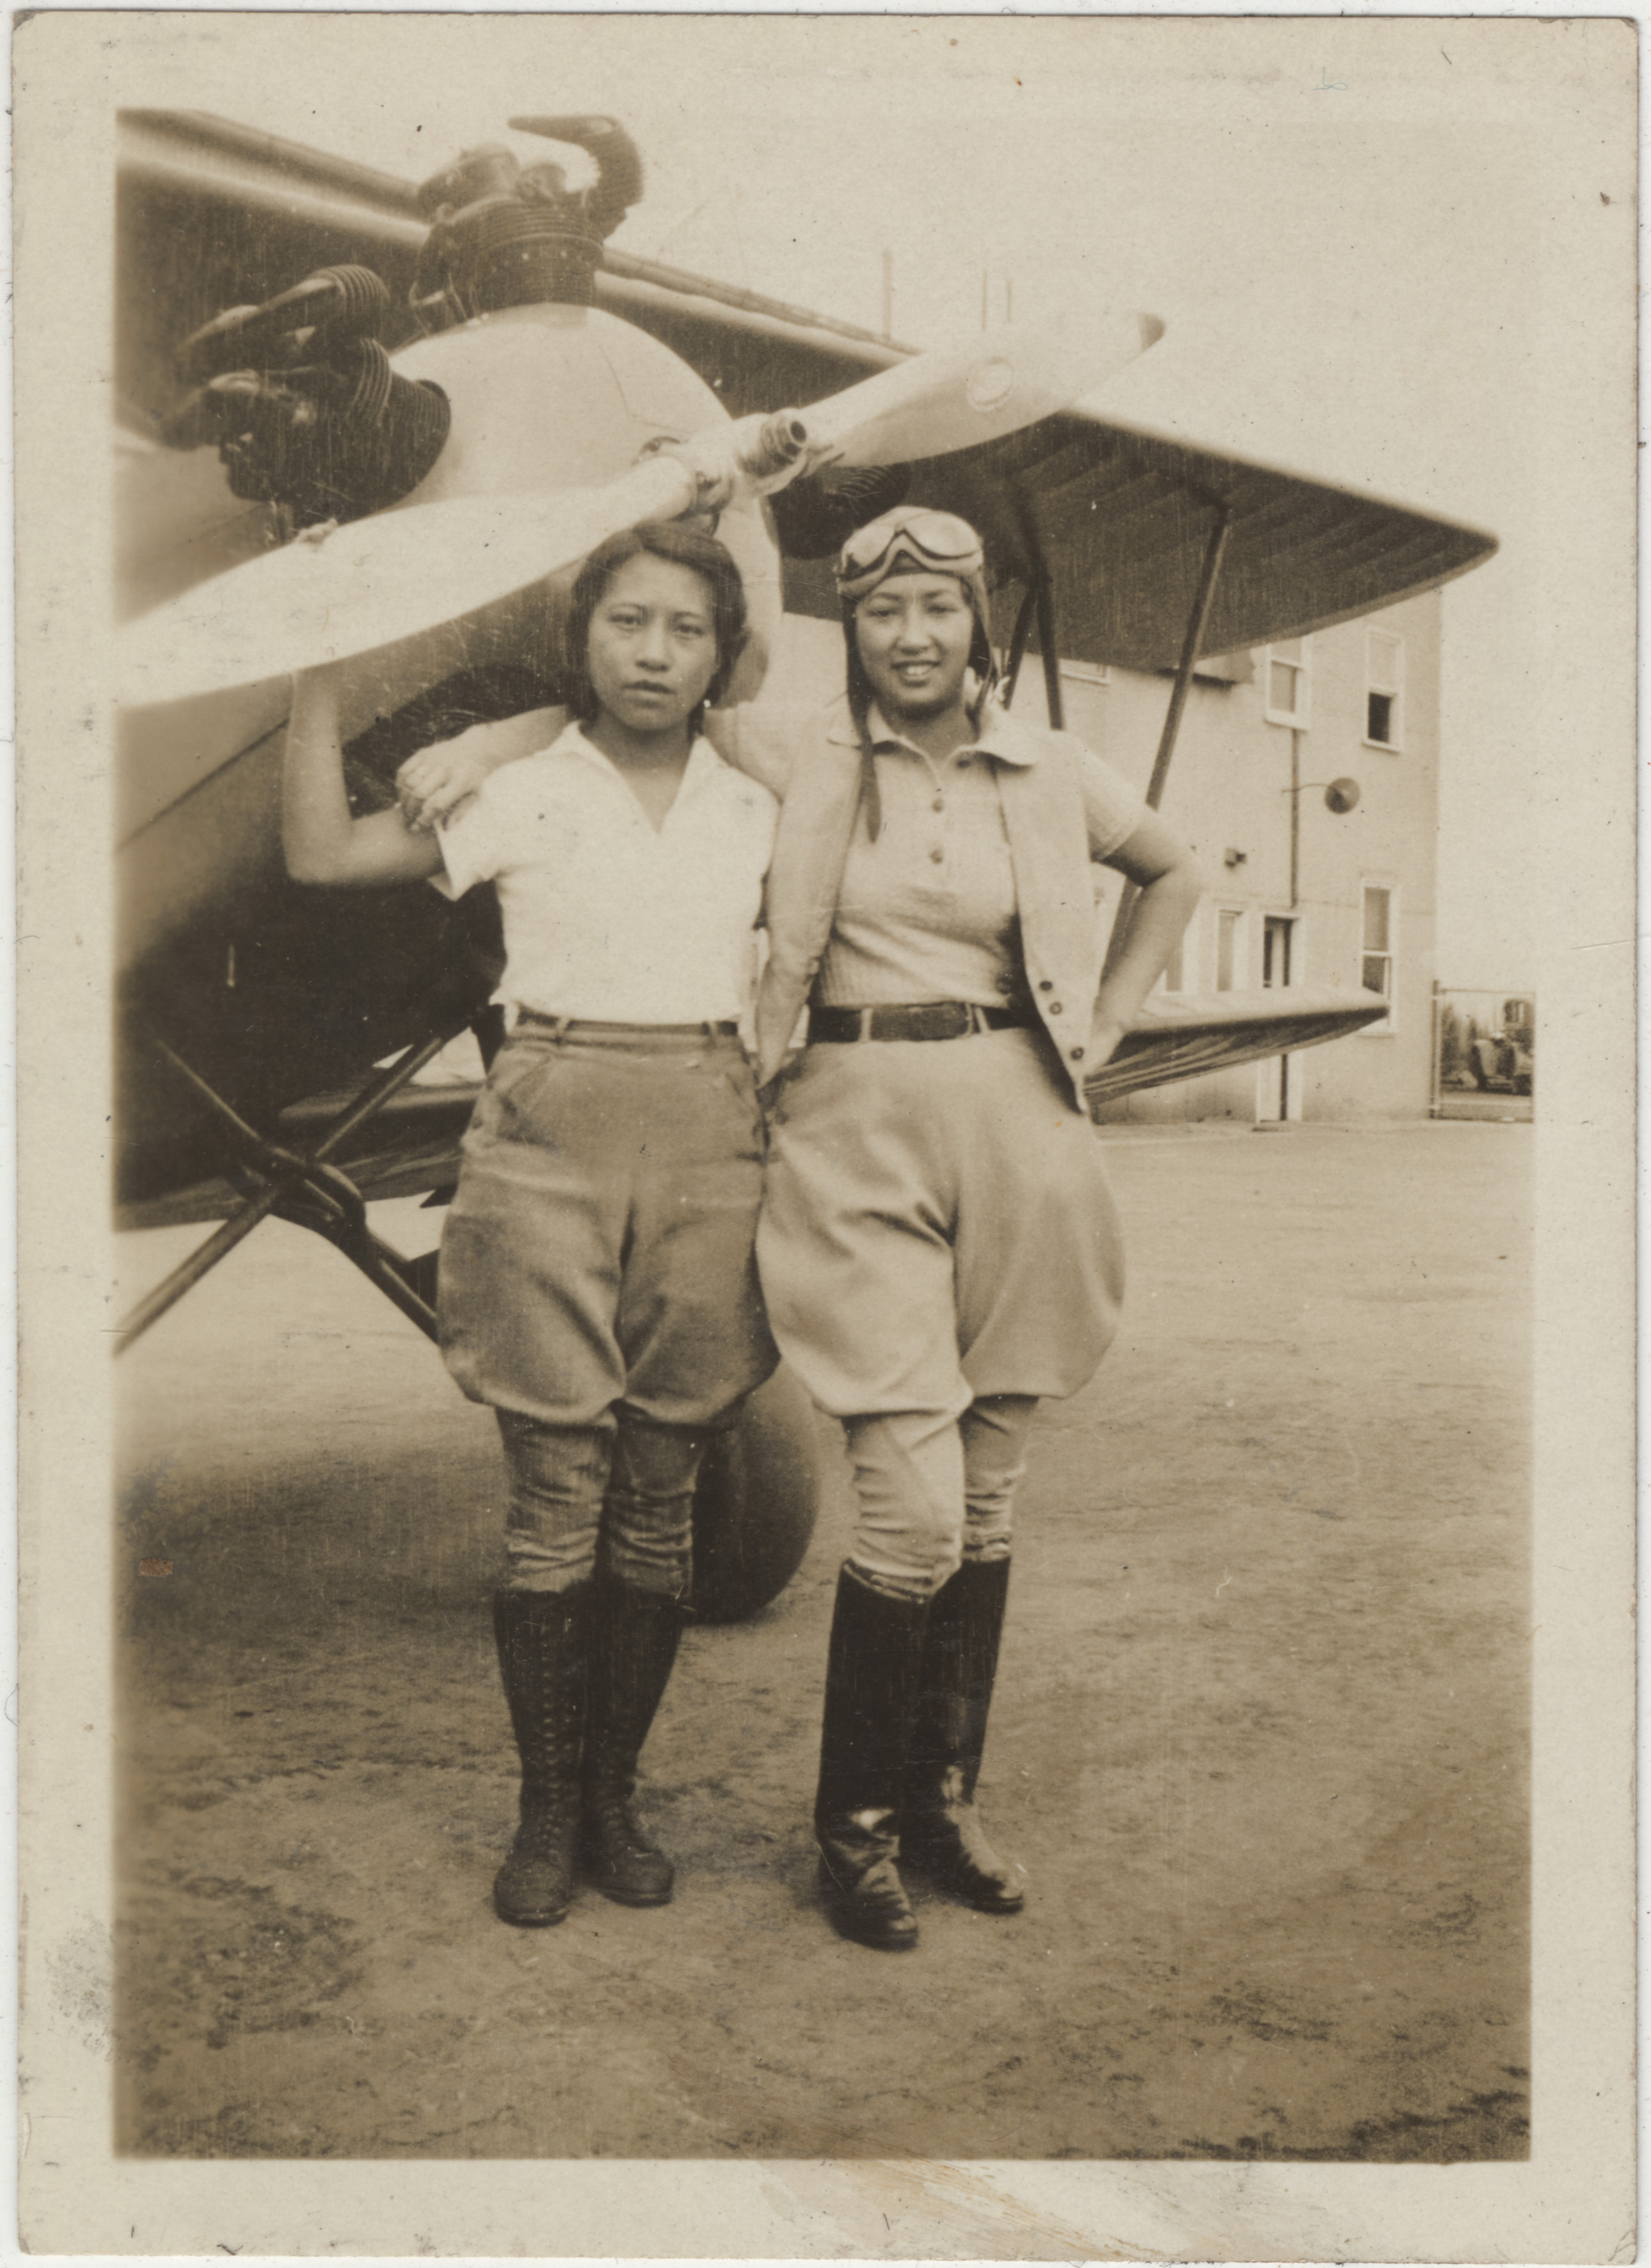
So when I came across the mention of Hazel Ying Lee in this random HuffPo article about famous Chinese-Americans, I was intrigued. An APA aviatrix? Who served as a WASP in WWII?! How have I never heard of her before? Especially when she has the same name as my mom! Okay, that doesn't make us related or anything, but I'm still going to claim her and others who served our country (heeeeey look, this other aviatrix has the same name as my aunt!) as part of my Chinese-American heritage.  All this to say, I made some old-timey aviatrix jodhpurs.


And now, without the belt and boots so that you can see the waist and lacings better. In bare feet, I felt like some kind of weird hobbit-pilot. 
A close-up of the waist. I'm really pleased at how neatly it all came together!

This might be the nicest facing job I've ever done. 

And a look at the lacing on the outseam. 

The inside. I didn't finish my seam allowances, but that was somewhat common at the time so I feel okay about it. 

I looked at many, many extant garments from the 1920s-1940s, and since I've never felt tied to strict historical accuracy, I boiled it all down to just a few must-haves to really get the idea across: military color (either tan, brown, olive, or dark green), side openings with buttons, buttons or laces at the outside of the knee, and that patched-on reinforcement on the inside of the leg. I didn't have a pattern and didn't want to just use this cheater method, so I went uber-historical and drafted my own pattern following these original 1912 instructions, with additional help from this 1908 drafting book for clarification. That's a couple decades earlier than my aimed-for 1930s look, but I was hoping that maybe jodhpurs were one of those garments that hadn't changed too much. Here's what my original draft looked like:

Yes, I do my drafts on the back of wrapping paper.
It's cheap and large, and it's already got those handy 1" grids printed on the back! 

And after multiple fittings and modifications, here's what my final pattern looked like:

Except without the darts. 
A comparison of the original center back seam and my new center back seam. 


I ended up eliminating the darts and taking the difference out at the center front and back seams instead, because the darts just looked poofy and hideous on the stiff twill I used, and many extant garments (including Hazel Ying Lee's) don't feature any darts at all. Even so, the final garment is pretty unflattering to my modern eye. And if you're thinking that the above pictures looked fine, that's because you didn't see the back and side view...

Um. What. Can we say hello, excess fabric?

It's like I've got room below my butt for an extra butt. 

I realize that it's supposed to be baggier and roomier than modern pants, but looking at how some 1940s jodhpurs fit, I'm inclined to think that they did get at least a little sleeker between the two world wars. I desperately want to take out some of the extra fabric at the inseam, but it's faux flat-felled and there's that huge applique over it, so I'm just going to say this is a wearable muslin. Besides, if I keep it this way I can use it as the base for a wartime Lady Edith costume. I did end up purchasing this Folkwear costume pattern, based on a 1920s outfit from the Met, so maybe I'll give the slightly-more-modern jodhpurs a try in the future. Despite the unflattering bagginess, I'm actually pretty pleased with myself for actually making these. My brain definitely got a workout, what with the research and drafting and alterations! And of course, I couldn't resist pulling out my circa 2001 leather jacket for an even sillier non-HA aviatrix look.

Old-timey filter!

Anachronistic jacket and boots ftw! 

Summary:
The Challenge: Heirlooms and Heritage
Fabric: 2 yards of 54" wide poly-cotton forest green twill, fairly stiff and inclined to resist pressing, inherited from a friend's stash
Pattern: self-drafted, following original 1912 instructions, with modifications
Year: 1912, fudged into 1930s
Notions: Eight black 7/8" plastic buttons, 1" wide black petersham ribbon for the binding, black ribbon for the lacing
How historically accurate is it? I'm going to put it at 60%, since it's a real historical pattern, but from slightly earlier, and not strictly historical materials. I got as close as I could while sticking to stash, as I'm going for the look, since I'm trying not to spend money on this. Real jodhpurs from the 1930s seem to be mostly linen or wool, although there are a couple of cotton ones and this one is even a forest green twill! Four buttons for the waist seems to be standard, as is no yoke + facing + belt loops, but the button facings tend to be invisibly attached. The petersham binding should be replaced with twill tape, and the ribbon with actual lacing cord, per this very helpful examination of an extant pair.
Hours to complete: 12, but that's not including the research.
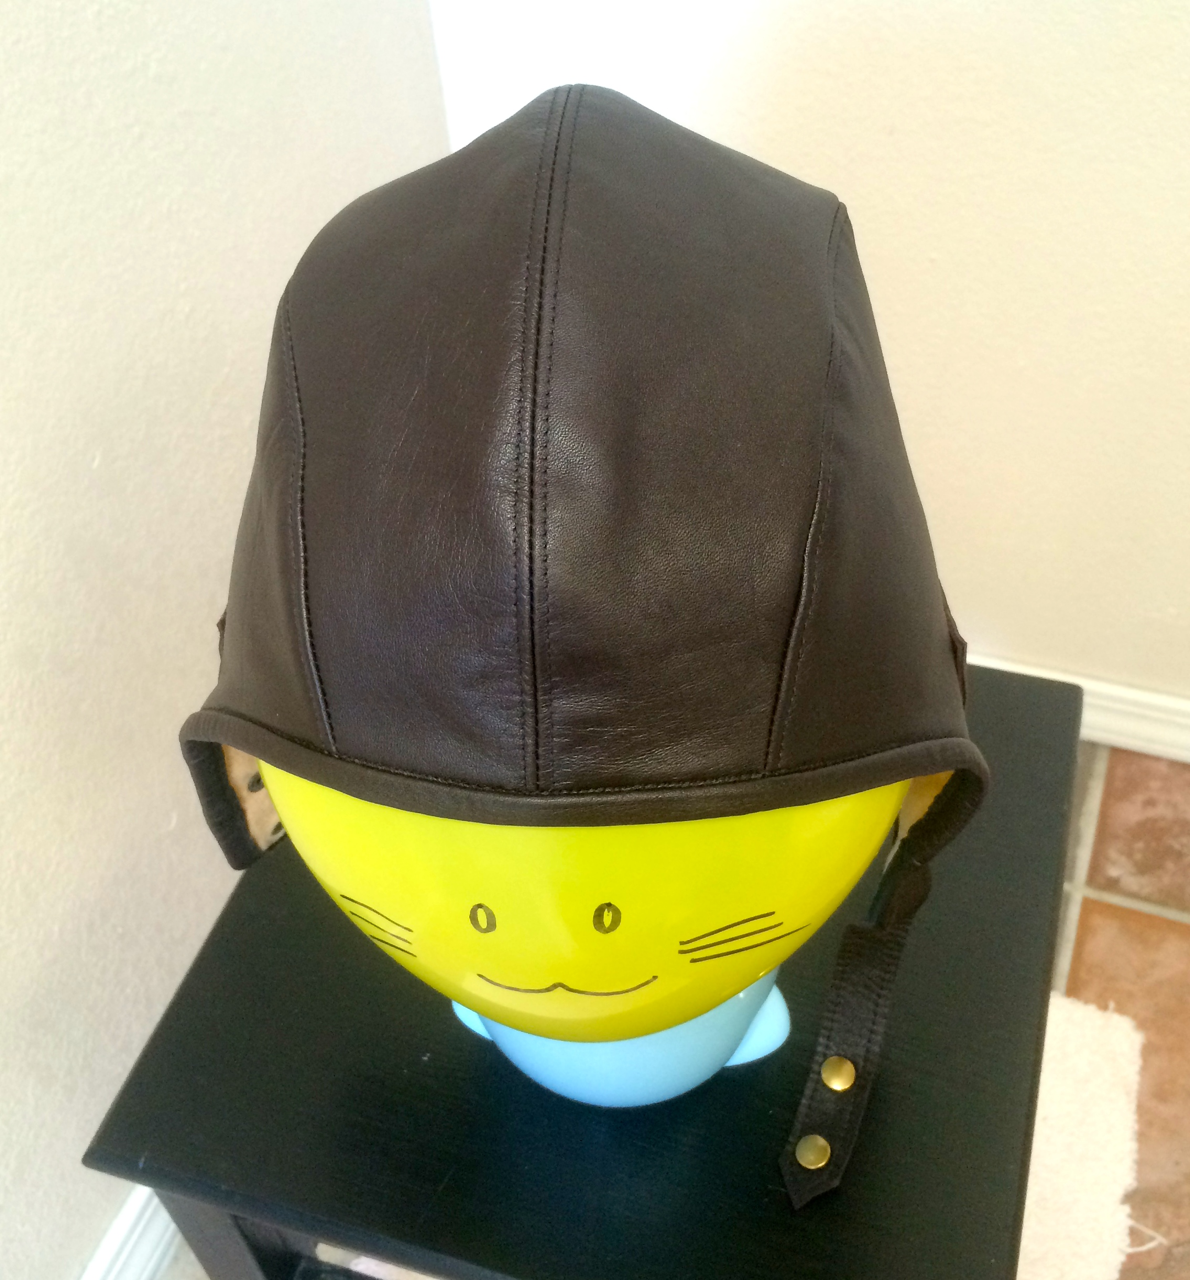
First worn: Just for pictures, and probably not for a long time, if ever. This was more a brain exercise project than anything, but maybe if they have a history day of sorts at school I could give it an outing? Although I'd have to make an aviator cap to go with it.
Total cost: $4 for the buttons, everything else was free from other people's stashes.
Netflix queue: Suitably enough, I watched Ken Burns' epic documentary The West while sewing this, which I heartily recommend not only for the sheer amount of information, but also because it touched on a little known part of Chinese-American history, the Chinese Exclusion Act. I know it can't compare to the long list of crimes committed against Native Americans, nor is it as awful as being enslaved for hundreds of years, but it's definitely one of those things that doesn't get covered enough in US History.
Final thoughts: While I didn't use any heirlooms, and these jodhpurs are only loosely part of my heritage, I think it's still fitting for this challenge. It inspired me to do a lot of research on a less well-known part of history and gave me a sense of pride in my APA identity. While I don't know that these costume jodhpurs will be passed on as an heirloom, I certainly hope that I can pass on that sense of pride in being Asian-American to SHB. I don't want him to grow up in a world that is suspicious of him because he might be an Other who's somehow "taking advantage" of the birthright citizenship amendment. Okay, I'm done politicizing!

And then I had a patriotism fail: I was trying to do one of those saluting poses like you see in the pin-up girl pictures from WWII, but I couldn't figure out why it looked so wrong. After some Googling, I realized I had actually done a "I'm shading my eyes while looking for someone" pose instead of a salute. *facepalm*