Saturday, December 17, 2011

Because I Needed Another Hobby: Embroidery


Remember how I used to hate hand-sewing? Remember how I used to put off projects just because I needed to hand-pick the zipper? Remember how it used to still takes me hours to stitch a lining down? Well, it's all winter's fault (my sewing room is always at least ten degrees colder than the living room), but I've picked up embroidery. Which, you know, is all about making stitches with your hand. But it's so exciting to make pictures take shape right under you very eyes! For some reason, a cute picture appearing is way more appealing than trying to make invisible picks on a zipper that refuses to line up at the waist.

I chose Simon's Cat for my first embroidery project; I swear, if you watch any of the Simon's Cat films, that IS Walnut. Except that Walnut is an indoor-only cat. But anyway, the simple line-art seemed perfect for my first attempt. I found Sublime Stitching's how-to page invaluable for a beginner; I mostly did stem stitches and back stitches with an attempt at a satin stitch for Cat's mouth. Can I just say, I have so much more appreciation for kimono makers and wedding dress makers now?

His fingers were quite tricky. Also, I cannot for the life of my make a French knot, so his pupils are quite tiny.

My stitches got neater as I went.

Look at the mess on the back!

So, minutes after finishing this piece, I sketched up another one. I think it's safe to say I'm addicted. There's something really nice and cozy about evenings sitting in front of the fireplace, embroidering a cute cat while watching a History Channel special about human sacrifices. Now I just need to get more colors of floss, since I currently have only red and black. How emo. And I might need to invest in a better hoop, as I'm currently using a 25-cent wooden one from the thrift store. Why is it that new hobbies usually mean another trip to the store? At least floss is cheap.

Friday, December 16, 2011

Anthropologie Inspired Tie-Neck Sweater Dress

It’s hard to find friends that you can do anything with and still have fun. Even better is when that anything doesn’t involve spending any money. Shayna, my bedsheet supplier, is just such a friend. On Sunday, I had the joy of going back down to San Diego to hang out for the day, and Shayna and I spent a very happy two hours in Anthropologie together. Half of that time was spent walking around the store looking at every single item and discussing its merits or flaws. The other half of the time was spent trying on a good twenty-plus dresses and buying none of them, much to the annoyance of the dressing room attendant (so sorry, lady, but we can’t afford any of your $300 lovelies!). Actually, it was mostly Shayna trying on dresses and me sitting in the dressing room staring at the insides of the dresses, studying their construction. I even learned a couple of things! For example, I always thought that hooks had to go into eyes, but I had problems with the eye showing at the top of a lapped zipper. Well, it turns out that hooks go just as well into thread “eyes,” which are much less visible. What a revelation!

This model must be seven feet tall for the hem to be above her knee.
Anyway, one of the dresses I did try on was the Tie-Neck Sweater Dress (I feel like their dresses usually have more interesting names than that), a sweater-knit color-blocked dress. I love the little bow tie detail and the cap sleeves, but I wasn’t a fan of the color blocking. The darker waist portion didn’t actually hit my waist, and the red of the skirt was not a good red for me. Also, it was way too long! It hit at a really awkward part of the leg, right at the largest part of my calf. A $158 dress that makes me look all out of proportion and emphasizes my burly calves? No thank you! But I did keep in mind that a medium-thickness, slim-cut sweater dress looks pretty good. Definitely not something I would have considered making before, but I went home inspired; I had the perfect rich red sweater knit at home for a sweater dress of my own.

Since the Sew Weekly Challenge this week was to sew something without a pattern, I decided to wing the dress. I’ve tried patternless garment sewing before, but have always had mixed results, probably because I’m always winging it. Anyway, I pulled out a fitted t-shirt of a similar knit weight and traced off a quick cap-sleeve pattern. I extended the bottom of the pattern in a vague A-line to get a good dress length.

The pattern I drew out on leftover fireplace paper.

In a frenzy of excitement, I whipped out my fabric and started laying it out. Unfortunately, in my excitement and the darkness of the floor of my sewing room, I laid out, cut, and stitched the whole dress wrong sides together. In other words, I made myself an inside-out dress. Fortunately, the knit was stretchier than I thought, so when I tried it on I realized I had enough ease to cut off the side seams and re-stitch it right sides together. Phew. After that I just cut a long rectangle for the collar ties and stitched that to the neckline. I ended up cutting a slit and in the front and facing it so that I could get my head through without totally staticking my hair every time. Finally, I turned the sleeves and hem under and stitched to finish it.

This red knit was ridiculously difficult to photograph because of the texture and the little black bits woven in.
This darker wine-red is closer to the actual color of the dress.
The finished dress: much better than the Anthro one, at least for me and my requirements.
Summary:
Fabric: One yard of 60” sweater knit from Michael Levine Loft (it was barely enough to finish the whole dress, but I did it! Much as I like having room to make mistakes, it is nice to not have any scraps leftover). I was originally saving this fabric for making a cardigan or shrug, but I think it works really well for this dress.  
Notions: None! Love the stretchy knit that requires no closures. 
Techniques used: Sewing with knit? Not sure if that really counts, although I did find this page helpful in choosing the correct stitch on my sewing machine. I do really wish I had a serger though! 
Hours: For making it up as I went, this went fairly quickly! I think it took me about 4 hours, but it would have been faster if the knit wasn’t ridiculously hard to keep on grain. Even so, I think it’s still slightly off.
Will you make this again? Maybe, if I find the right fabric! This dress is super easy and comfortable, after all. 
Total cost: $2! I love buying fabric by the pound! Also, much as I love full skirts, it’s amazing that one can make a whole fitted dress from just a yard of material.
Final thoughts:  This dress is perfect for the mild SoCal winter season! The sweater knit is just cozy enough with tights and boots and a cardigan, but not too bulky. I really like the rich red color and demure colar-and-bow-tie detail. I wish I had taken the time to get the grain perfect, but oh well.  I’m still wondering if I should do something to make the back more fitted, like maybe put a little strip of elastic to gather it a bit? Or I could just be lazy and call it finished.

So for $156 less, I have a sweater dress with all the details I love from the Anthro dress, but without any of the issues. Gosh, I love being able to sew. This was a really easy dress to make, aside from dealing with the mercurial grain of knits. If you’re interested in making your own, here’s an idea of what my pattern pieces looked like:
I'm normally a Burda size 34, Big Four size 10 or 12.
Or, there’s a pretty good tutorial/guide here, which I only discovered after I made my dress. Of course it would be that way!

Also, I am so glad that my husband is done with the quarter because not only is he less busy and stressed, it means that he's available to take pictures for me! It's so much easier than trying to balance the camera on things and running back and forth to see how the pictures turned out.

Look at his handsome shadow taking pictures for me!

Thursday, December 15, 2011

I Promise, This Is the Last Snowflake Post This Year

Part 1 of geeky snowflakes here. 

Really, I have been sewing, too, not just crafting. But I had some time today while waiting with Walnut and I couldn't sew, so I cut these guys out instead.
Can you guess what they are? Hint: the bottom right is not a ghost, a melted snowman, or a really ugly Peep.

I don't have templates for these, although I might try to get around to drawing them up someday. Just in case I want to make these again someday. But here's what my drawings and cuts looked like:
Sketches for Jabba and the Balrog.

The cut out Balrog.

Unfolded! One Balrog seems to mysterious have merged nostrils. Also the fire is uneven.

Jabba's eyes and nostrils were very, very difficult. The middle pattern was supposed to be like the secret grate that allows him to watch his pet rancor and its victims.
Not especially clear from the actual snowflake, but this was meant to be Rivendell.

The arches on the bridge obviously didn't make it.

For such a lacy snowflake, it held up surprisingly well.
And now I am out of origami paper from that years-old packet, so no more snowflakes. At least until I have a child and fly on Cathay Pacific.

Coming up tomorrow: I actually sew something!

Wednesday, December 14, 2011

Geeky Star Wars and LOTR Snowflakes!


After putting up our fireplace, I decided that we needed some more season-appropriate decor to go with it...so I made some snowflakes! I still have to figure out how to hang them up, but I'm so excited to have them all cut out! I think the last time I made snowflakes was in elementary school, and I must say, these are way cooler than the ones I used to make. Because now that I've owned up to being a geek, I'm going to celebrate it in every way I can, including snowflake-making.

Admiral Ackbar, by Anthony Herrera.
It started out with seeing these amazing Star Wars character snowflakes in my RSS feed: this guy made up templates for Yoda, Admiral Ackbar, and C3PO, among others. These were inspired by Matters of Grey's Darth Vader, Stormtrooper, and Boba Fett snowflakes. Aren't they amazing? I pulled out some old origami paper (Winnie the Pooh brand, courtesy of a Cathay Pacific kid's activity pack from years ago), folded it into the starting wedge, and got started. I was too lazy to get out my X-Acto knife at first, so I went with the one I thought I could cut with just plain scissons: the stormtrooper. I didn't bother printing or sketching the design on the PDF; I just started cutting. Once I unfolded it, I got really excited and and realized that this art form is rife with possibilities. Rife, people!

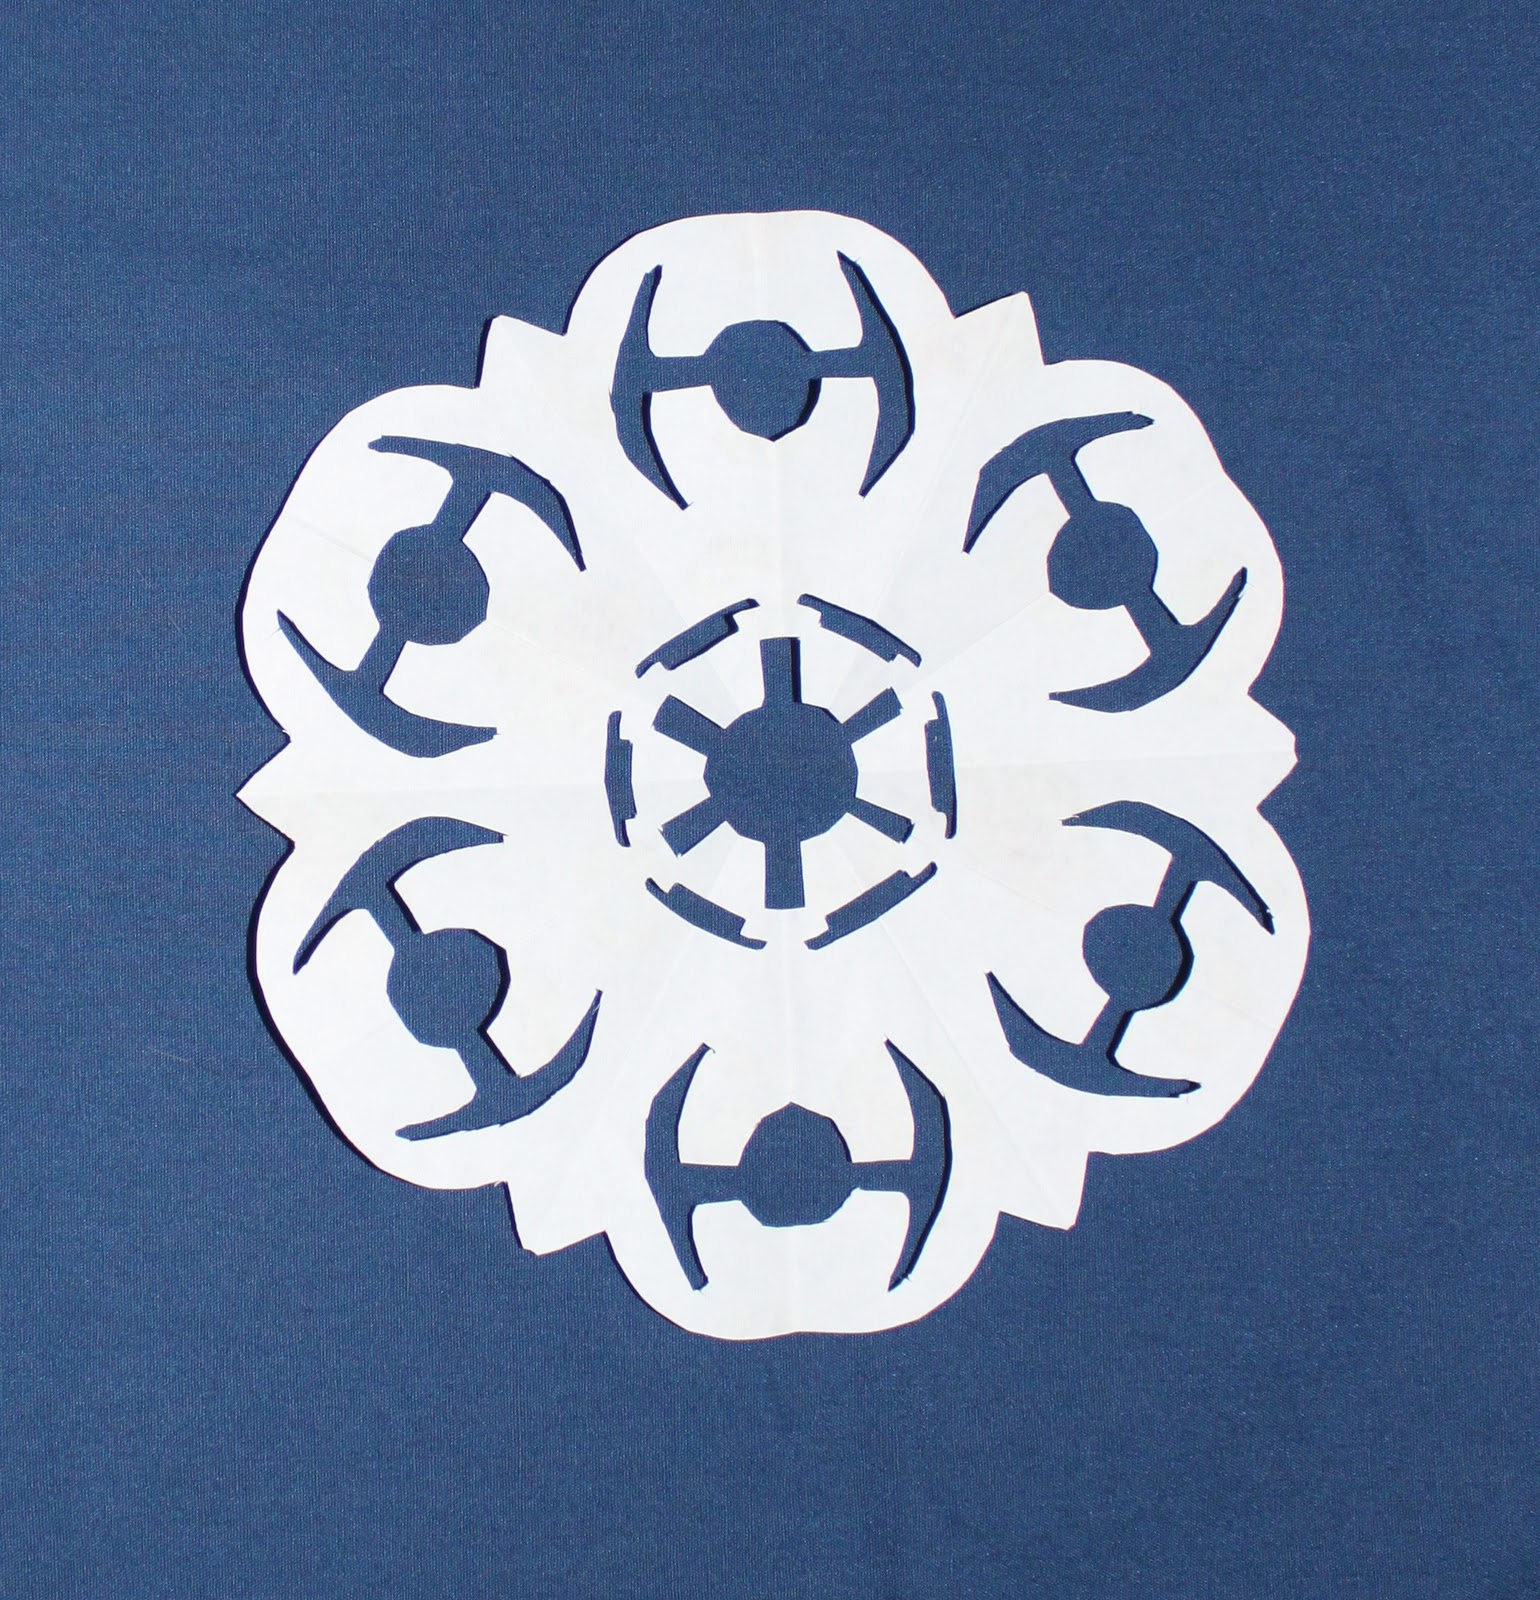
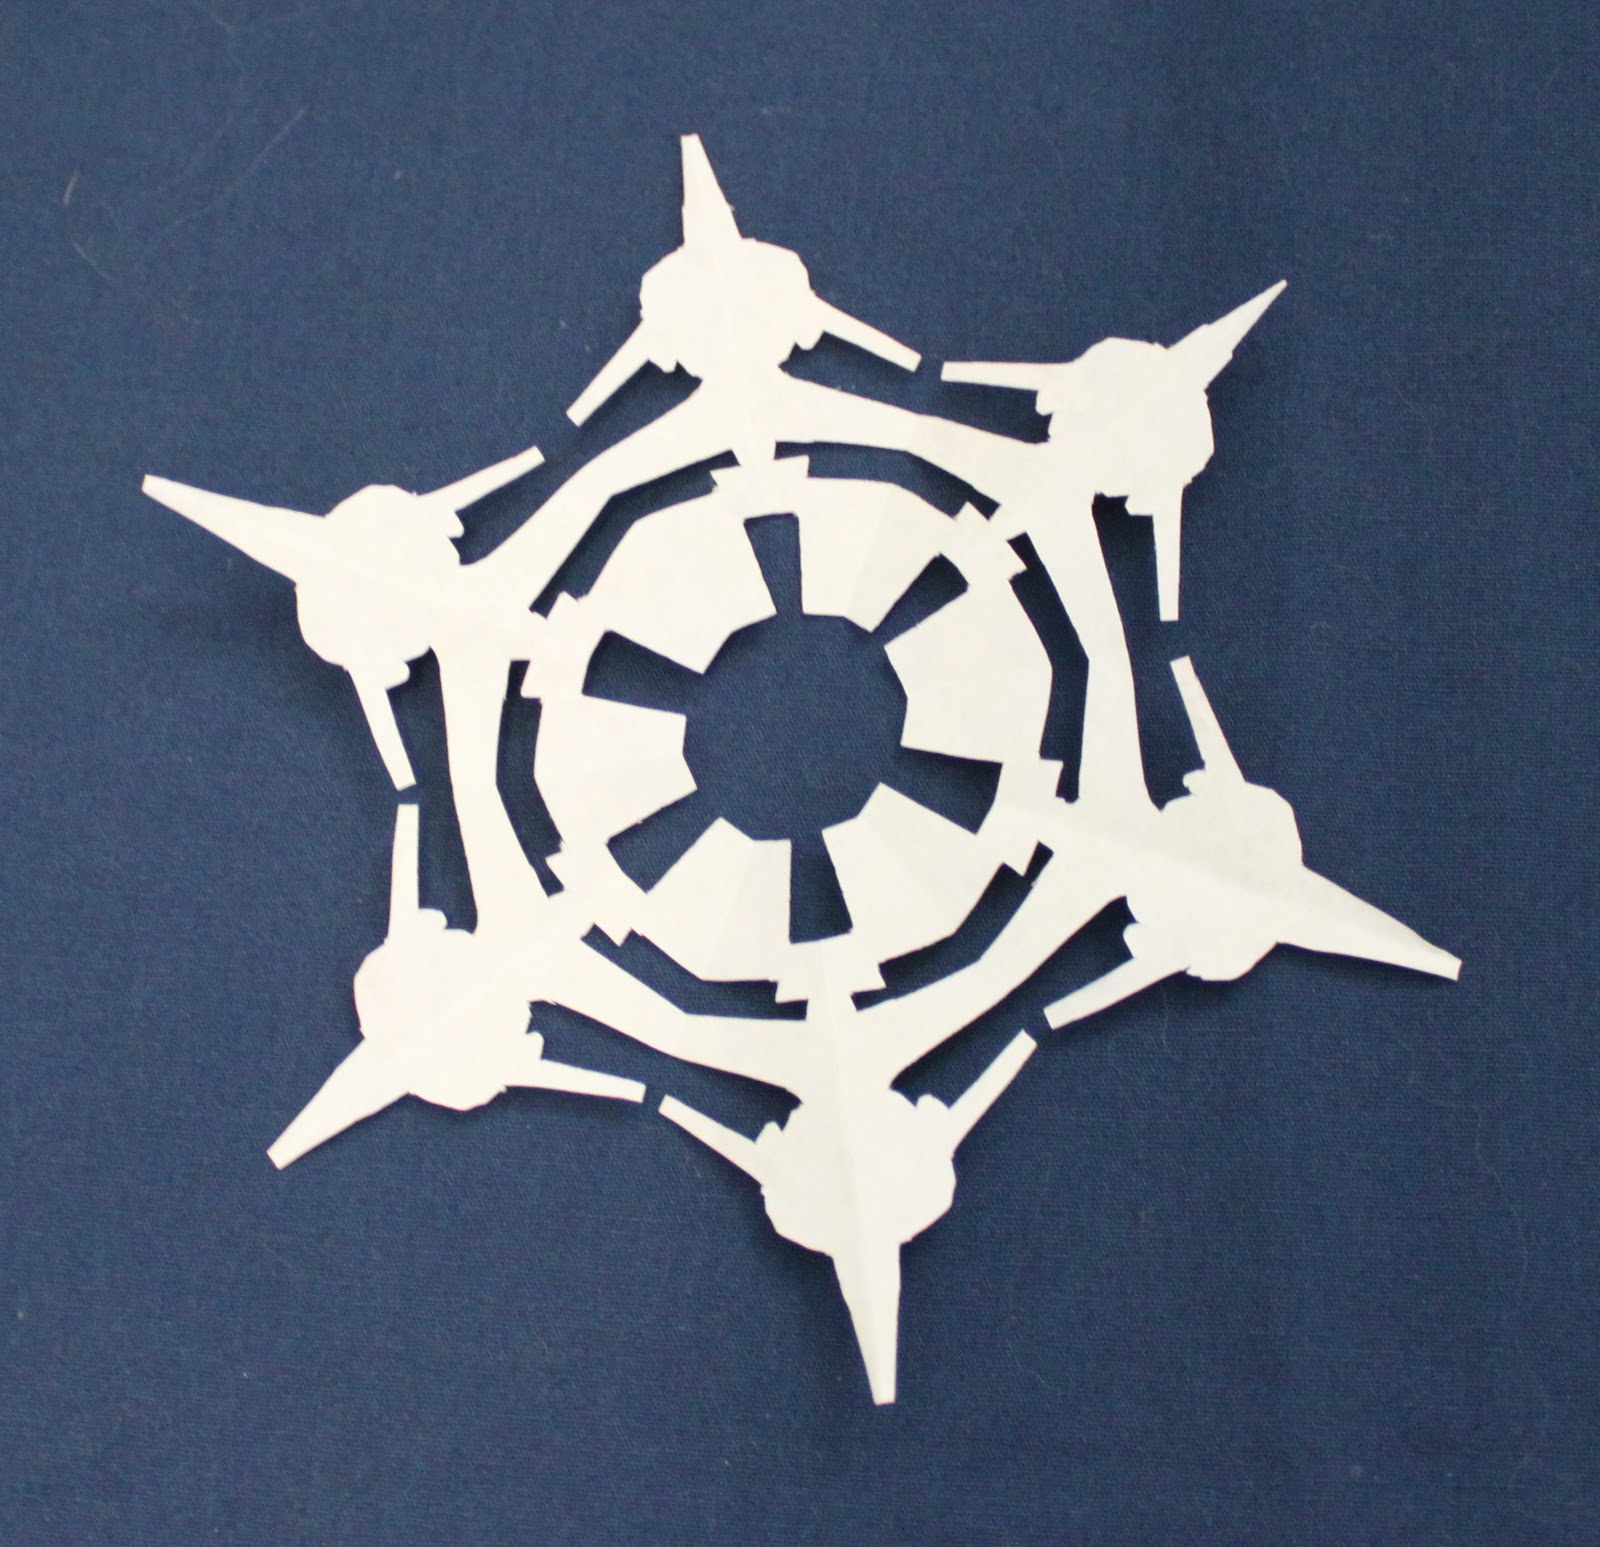
I'm not brave enough to try more faces (my stormtrooper already looks a little kooky even though I tried my best to get his proportions right), so I just did silhouettes. I ended up with a generic tie fighter, Darth Vader's Lambda-class T-4a shuttle, and the symbol of the Rebel Alliance.


For the two ships, I tried my best to replicate the symbol of the Galactic Empire in the middle, but then gave up. Everyone already knows tie fighters are empire, anyway. After cutting out the shuttle, I realized that the scrap leftover was still pretty big, so, never being one to waste crafting supplies, I cut out an octopus snowflake from it. Errr, a tetrapus, really.

If they were squid, one could imagine that they were squirting a giant cloud of ink into the middle.

At this point, I got totally crazy and decided to break out the X-Acto. Having already paid homage to one of my favorite geekdoms (and one anatomically incorrect cephalopod), I knew I had to make some LOTR snowflakes to balance it out. After some thought about what would be most snowflake-appropriate, I decided on Arwen's Evenstar pendant; it already looks all lacy and delicate. Again, I didn't bother sketching anything, just looked at pictures online and started cutting.

I used the cardboard from the Cathay Pacific package as my cutting mat.

Not exactly a movie replica, but good enough!

And then of course I had to make one representing my favorite country, Rohan. I based the horse head loosely off of the banners that Theoden King has hanging in Meduseld. For this one, I took the time to sketch a rough outline before cutting. The wavy lines of the mane were the most difficult of all the designs to cut and then poke out.

Preliminary sketching.

All cut out! Mostly.

Not Winnie the Pooh this time.
Other side!
Here they are in all their Winne the Pooh glory!

I really wasn't kidding about Winnie the Pooh.

I'm so happy with my geeky snowflakes! I'd forgotten how fun paper-cutting is. Now I *almost* want to try making one of those crazy pieces like this amazing artist.

If you want to try making your own, I've put downloadable/printable templates for the Galactic Empire ships (and tetrapus) and Rebel Alliance snowflakes here. Just follow the directions on this site for how to fold a square piece of paper, then cut out all the shaded areas on the template. These can all be done without an X-Acto knife; just make sure you use a really sharp pair of scissors. I like using origami paper because it's thinner than printer paper, but don't feel obliged to use Winnie the Pooh origami paper!

Linked to Wow Me Wednesday,  Whatever Goes Wednesday, and Show and Tell Wednesday.

Tuesday, December 13, 2011

DIY Cardboard Faux Fireplace

It looks like a real home now, with a cat in front of the fireplace and everything!


I have officially turned the corner into Crazy Craft Person Land. The other day, as we were coming home from a trip to the mall, I spotted a giant cardboard box in the dumpster (balanced on top, in pristine condition, not dirty at all) and told my husband I was going to bring it home and make it into a fireplace. I think he was seriously concerned; superhero dresses out of somebody's old sheets was bad enough, now we were going to have a fireplace out of an old box? Well, I figured if LiEr of Ikatbag can wrestle old boxes home to make amazing toys for her kids, I can do the same for my...errr...small fur child. Actually, no, this is all about making me happy.

[cue soft tinkly music and blurring of the picture to indicate that a nostalgic memory is taking over]


Imagine these hanging above white leather couches and gold and glass end tables. From here.
Some of my fondest winter childhood memories involve a fireplace and cardboard. See, when we were younger my mom used to work part-time for this laser disk rental company that would let her take home brand new cardboard promotional displays. You know, like the kind you see at movie theaters with the characters all cut out and all. Seriously, for a time the highlight of every week was finding out which movie she scored, and then assembling the giant cardboard stand. My mother should be nominated for sainthood; I'm not sure what normal mom lets her children turn a pristine, beautifully decorated living room into an entire themed room advertising Fern Gully. Or Thumbelina or Batman Returns. The best was when Jurassic Park came out and there was not only the huge cardboard dinosaur, but signs proclaiming Dinosaur Crossing and Danger: High Voltage. Anyway, in the winter we got to cluster all the cardboard displays around the fireplace to make a little fort and then we would sit around a roaring pyramid of fresh pine branches feeble fire of one Duraflame "log." And then try to toast three-year-old marshmallows from that one time we made Rice Krispies treats.

TL;DR summary: Christmas without a fireplace just doesn't feel complete, so obviously I had to make one. Also, we have no Christmas tree to put up and decorate, so it's about time I started decking out the apartment somehow.

I started by wiping down the box with a damp towel to remove all the dust and mental dumpster association. Walnut helped welcome the box into the apartment by rubbing his cheek all over the corners. Then I used duct tape to secure the corners so that it would stand up on the flaps.


To make space for the fire, I used a box cutter to cut out a rectangle on one side.

Since the box was pretty wide, and I didn't want it to take up too much space against the wall, I cut the box in half.

It was still pretty short, so I sawed off the flaps on the other half of the box and hot glued them to the bottom of the fireplace. This raised it to a nice healthy mantel height of four feet. At this height, though, the horizontal part looked all out of proportion, so I cut it in half and inserted some extra cardboard. I reinforced it with lots of tape and more cardboard inside.

At that point, I decided that it would be just a little too ghetto to follow my original plan of drawing directly on the cardboard. I mean, a DIY faux fireplace made out of a box you pulled out of a dumpster is pretty bad; let's dress it up just a little bit. I went to Staples and bought a roll of brown paper (I only used a fraction of the roll, so I still have plenty for making patterns and wrapping packages with string). I carefully measured and cut and folded to get the paper to fit the weird shape of the fireplace. Definitely one of the odder things I've wrapped. Before I taped the paper down for real, I drew all over it to get a more realistic (ha!) fireplace look.


I knew I wanted to give a nod to the Art Nouveau aesthetic, as it is probably my favorite period in architecture/furnishings/promotional posters. Looking to my Mucha book, clip art from Dover, and pictures of Art Nouveau fireplaces online for inspiration, I came up with this lily design. I really like that I was also able to pay vague homage to Rohan and the elves in my laughable knot-work. The hardest part was that once I drew the first column, I had to sketch a mirror-image on the second column. I'm really bad at it, but I didn't feel like digging out tracing paper and carbon transfer paper to make sure it was perfect. I mean, this is a a cardboard fireplace, after all.
Oops, I see some pencil that I forgot to erase.

Check out my sad attempt at mitered tape corners!

You can see more of my sketchy taping on the side.


After placing the box against the wall, I folded a dark red poly-satin fabric from my stash on the mantel and set up some frames leftover from our wedding tables, birthday cards, Christmas cards, and two handmade stuffed cats from when I was experimenting with softies. Also, it is the perfect place to put my LOTR plaque!

Instead of a fire, I set up a box with some gold glittery fabric and Christmas lights wrapped around a pillar candle. I think it really adds a homey holiday feeling to our living room! And best of all, my husband has moved past his initial, not totally unfounded skepticism and loves it.


Summary:
Materials: Cardboard box, duct tape, glue, brown wrapping paper
Tools: Hot glue gun, box cutter, scissors, pencil, Sharpie
Hours: About 2.5 for the actual construction, another four for the designing and drawing and securing to the cardboard
Will you make this again? I'd forgotten how much I like working with cardboard! I'm toying with the idea of making a new fireplace every year with a different drawing. This website has some great ideas for classic fireplace surrounds, conveniently already in line-art form. But ideally one day we'd have a house with a real one.
Total cost: The roll of wrapping paper was $6, but I hardly used any. The tools and tape I already had, and obviously the box was free, so probably about $1, total! But I'll confess that I bought Christmas lights for $5 from Target just for this.
Final thoughts: We had a bunch of business school people over for a dumpling-making party last night, and they were all surprised to hear that I just up and made a faux fireplace. Not sure if it was a pleasant oh-wow-I-can't-believe-that-was-a-cardboard-box kind of surprise or a gosh-that-wife-of-Eric's-is-weird surprise, but it makes me happy. I don't know how long we'll leave this up (it does seem a little bit weird for year-round decor), but for very little money and some time (which was fun, and not chore-like at all), we have a beautiful mood-setting piece in our living room!

Linked to Made by You Mondays at Skip to My Lou, Take-A-Look Tuesday at Sugar Bee Crafts, and Tutorial Tuesday at Hope Studios.