Read part 1 of this series here to learn more about my inspiration for this costume.
I was constrained by the 250-word max allowed on the FR competition entry form in how much I could say about my process, but here's what I submitted: "With my limited color palette, I wanted to use different fabric textures to bring some visual depth to the costume. I also wanted to use repurposed fabrics where possible, both for sustainability and because it shouldn't cost a fortune in fancy fabrics to make a beautiful outfit. The corset is made from fabrics leftover from theater costuming jobs, and the underskirt is made from an old net curtain and a bedsheet. The bolero fabric is a thrifted velvet tablecloth, and the cape's feathers cut from the skirt and corset fabric scraps. Many of the beads and chains are from deconstructed jewelry from my coworkers' destashes, and the hairpieces made by heatforming old plastic milk jugs. The biggest challenge was fitting my corset, since I had originally patterned it when I was still breastfeeding; I ended up trying to pad out the bust to accommodate my body changes. This is only the second overbust corset I've made, so I was trying to figure out the best method of construction with the help of internet tutorials. I knew I wanted to hide the messy underside of the beading, so I ended up making a boned "lining" layer under the beaded fashion fabric. My favorite parts are the beaded bird appliques, done on silk organza; I experimented with many different types of bead, ribbon, and fabric layouts to get a recognizable magpie look. Because of all the individually hand-stitched beads and feathers, time and hand-health management were an important consideration."
 |
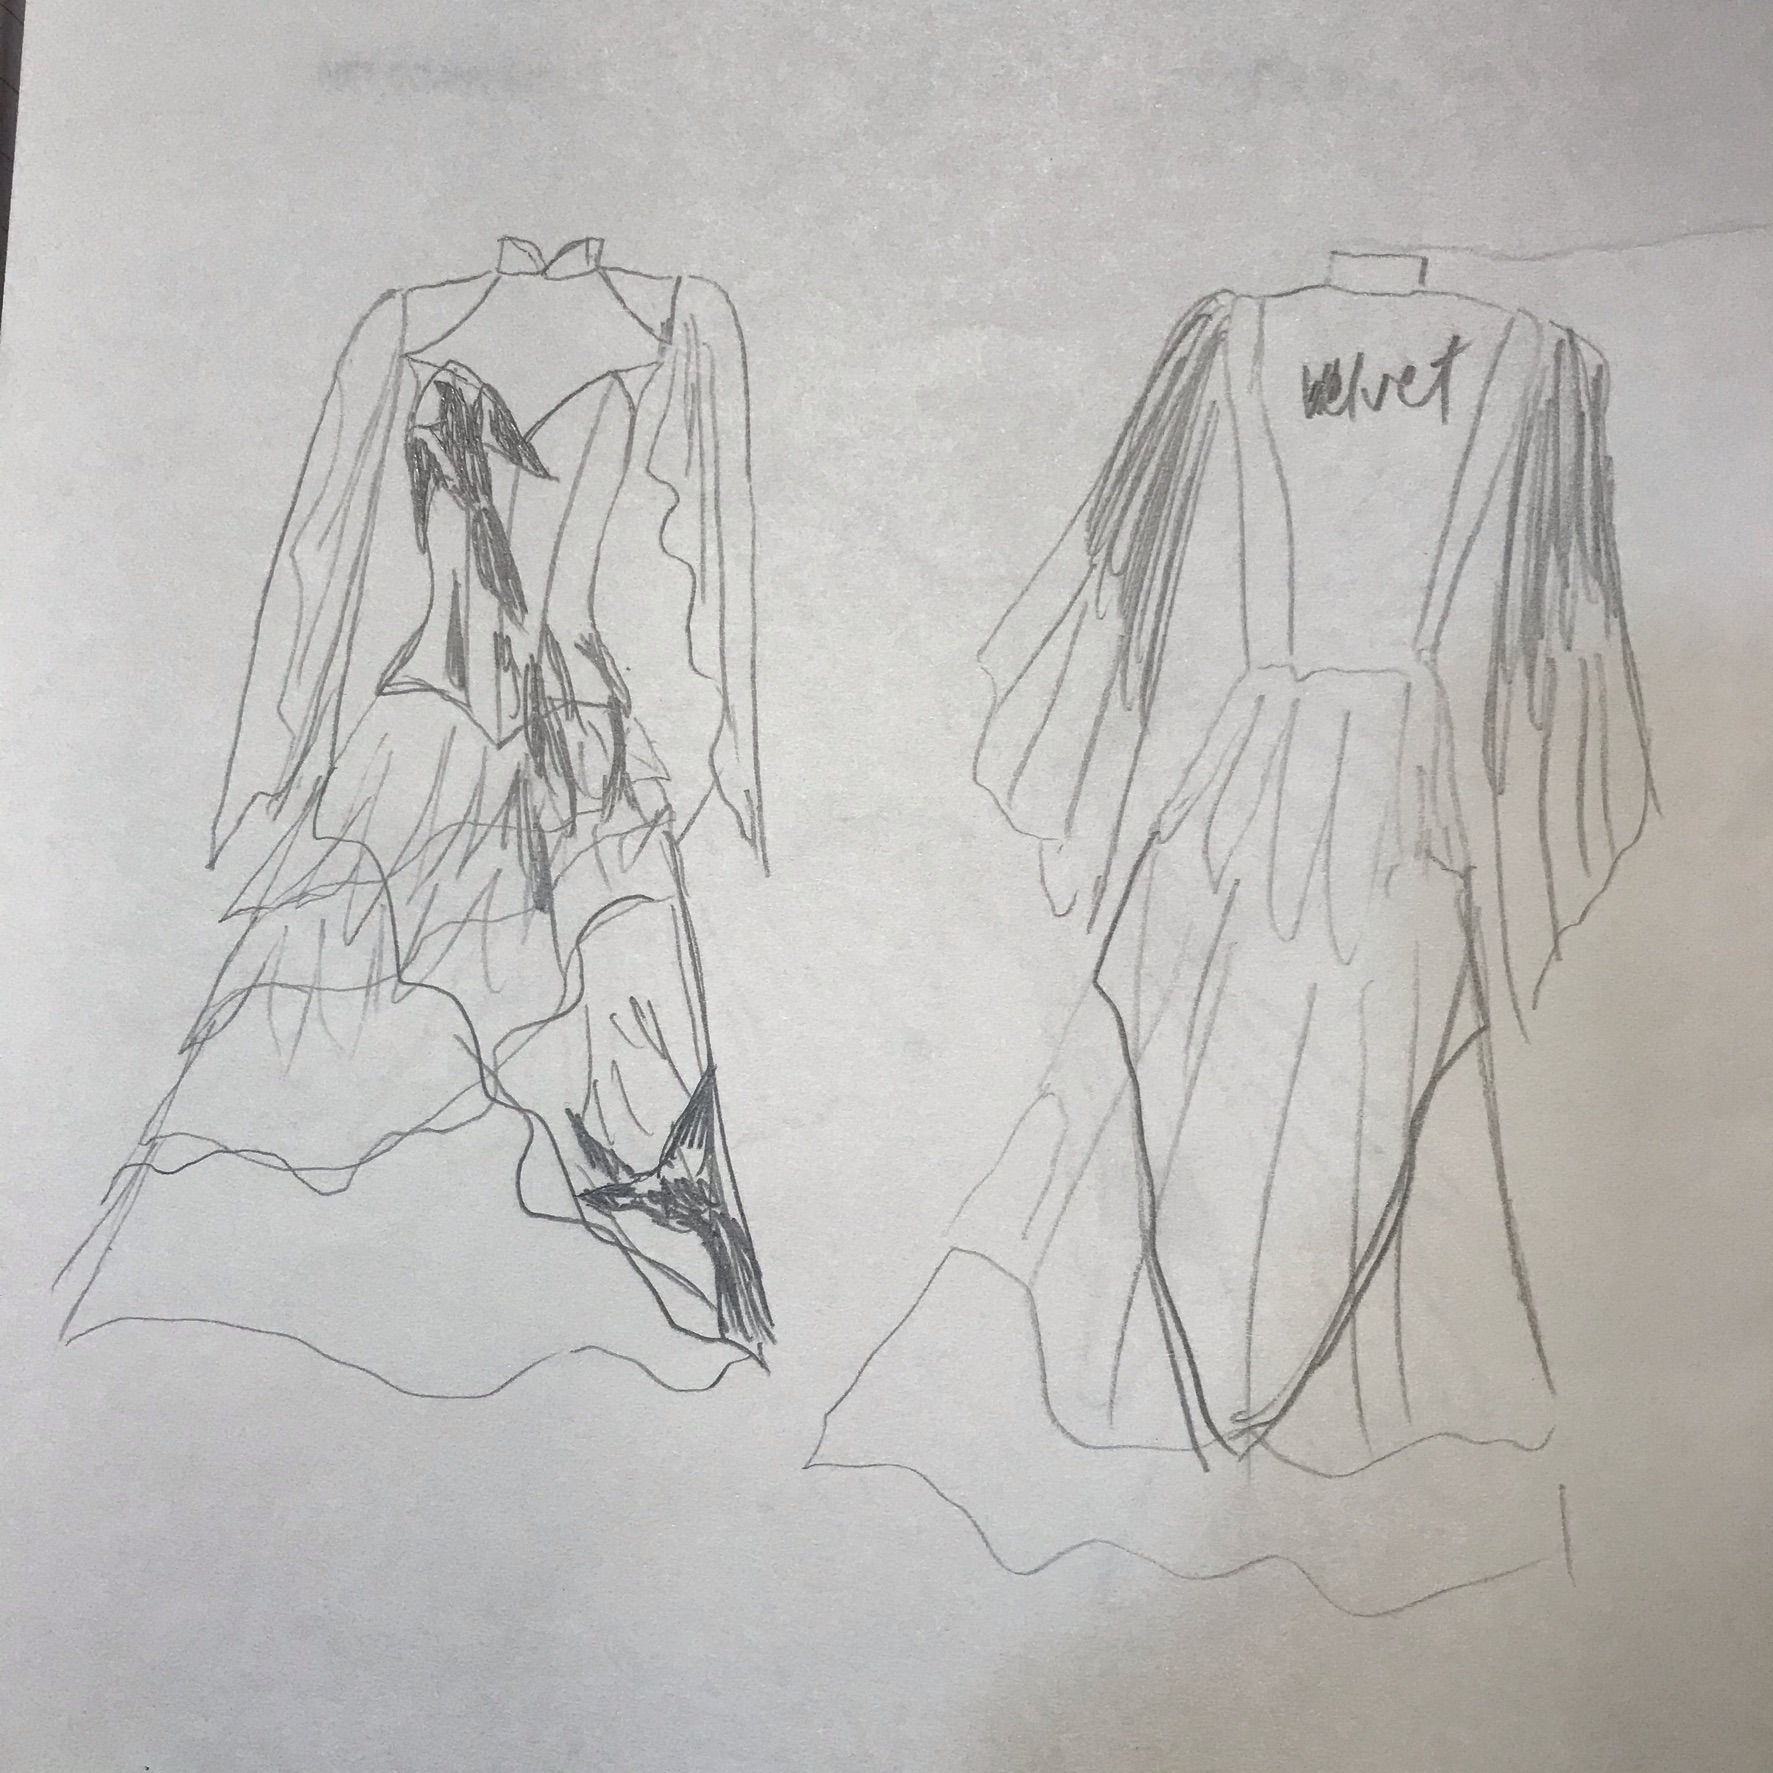
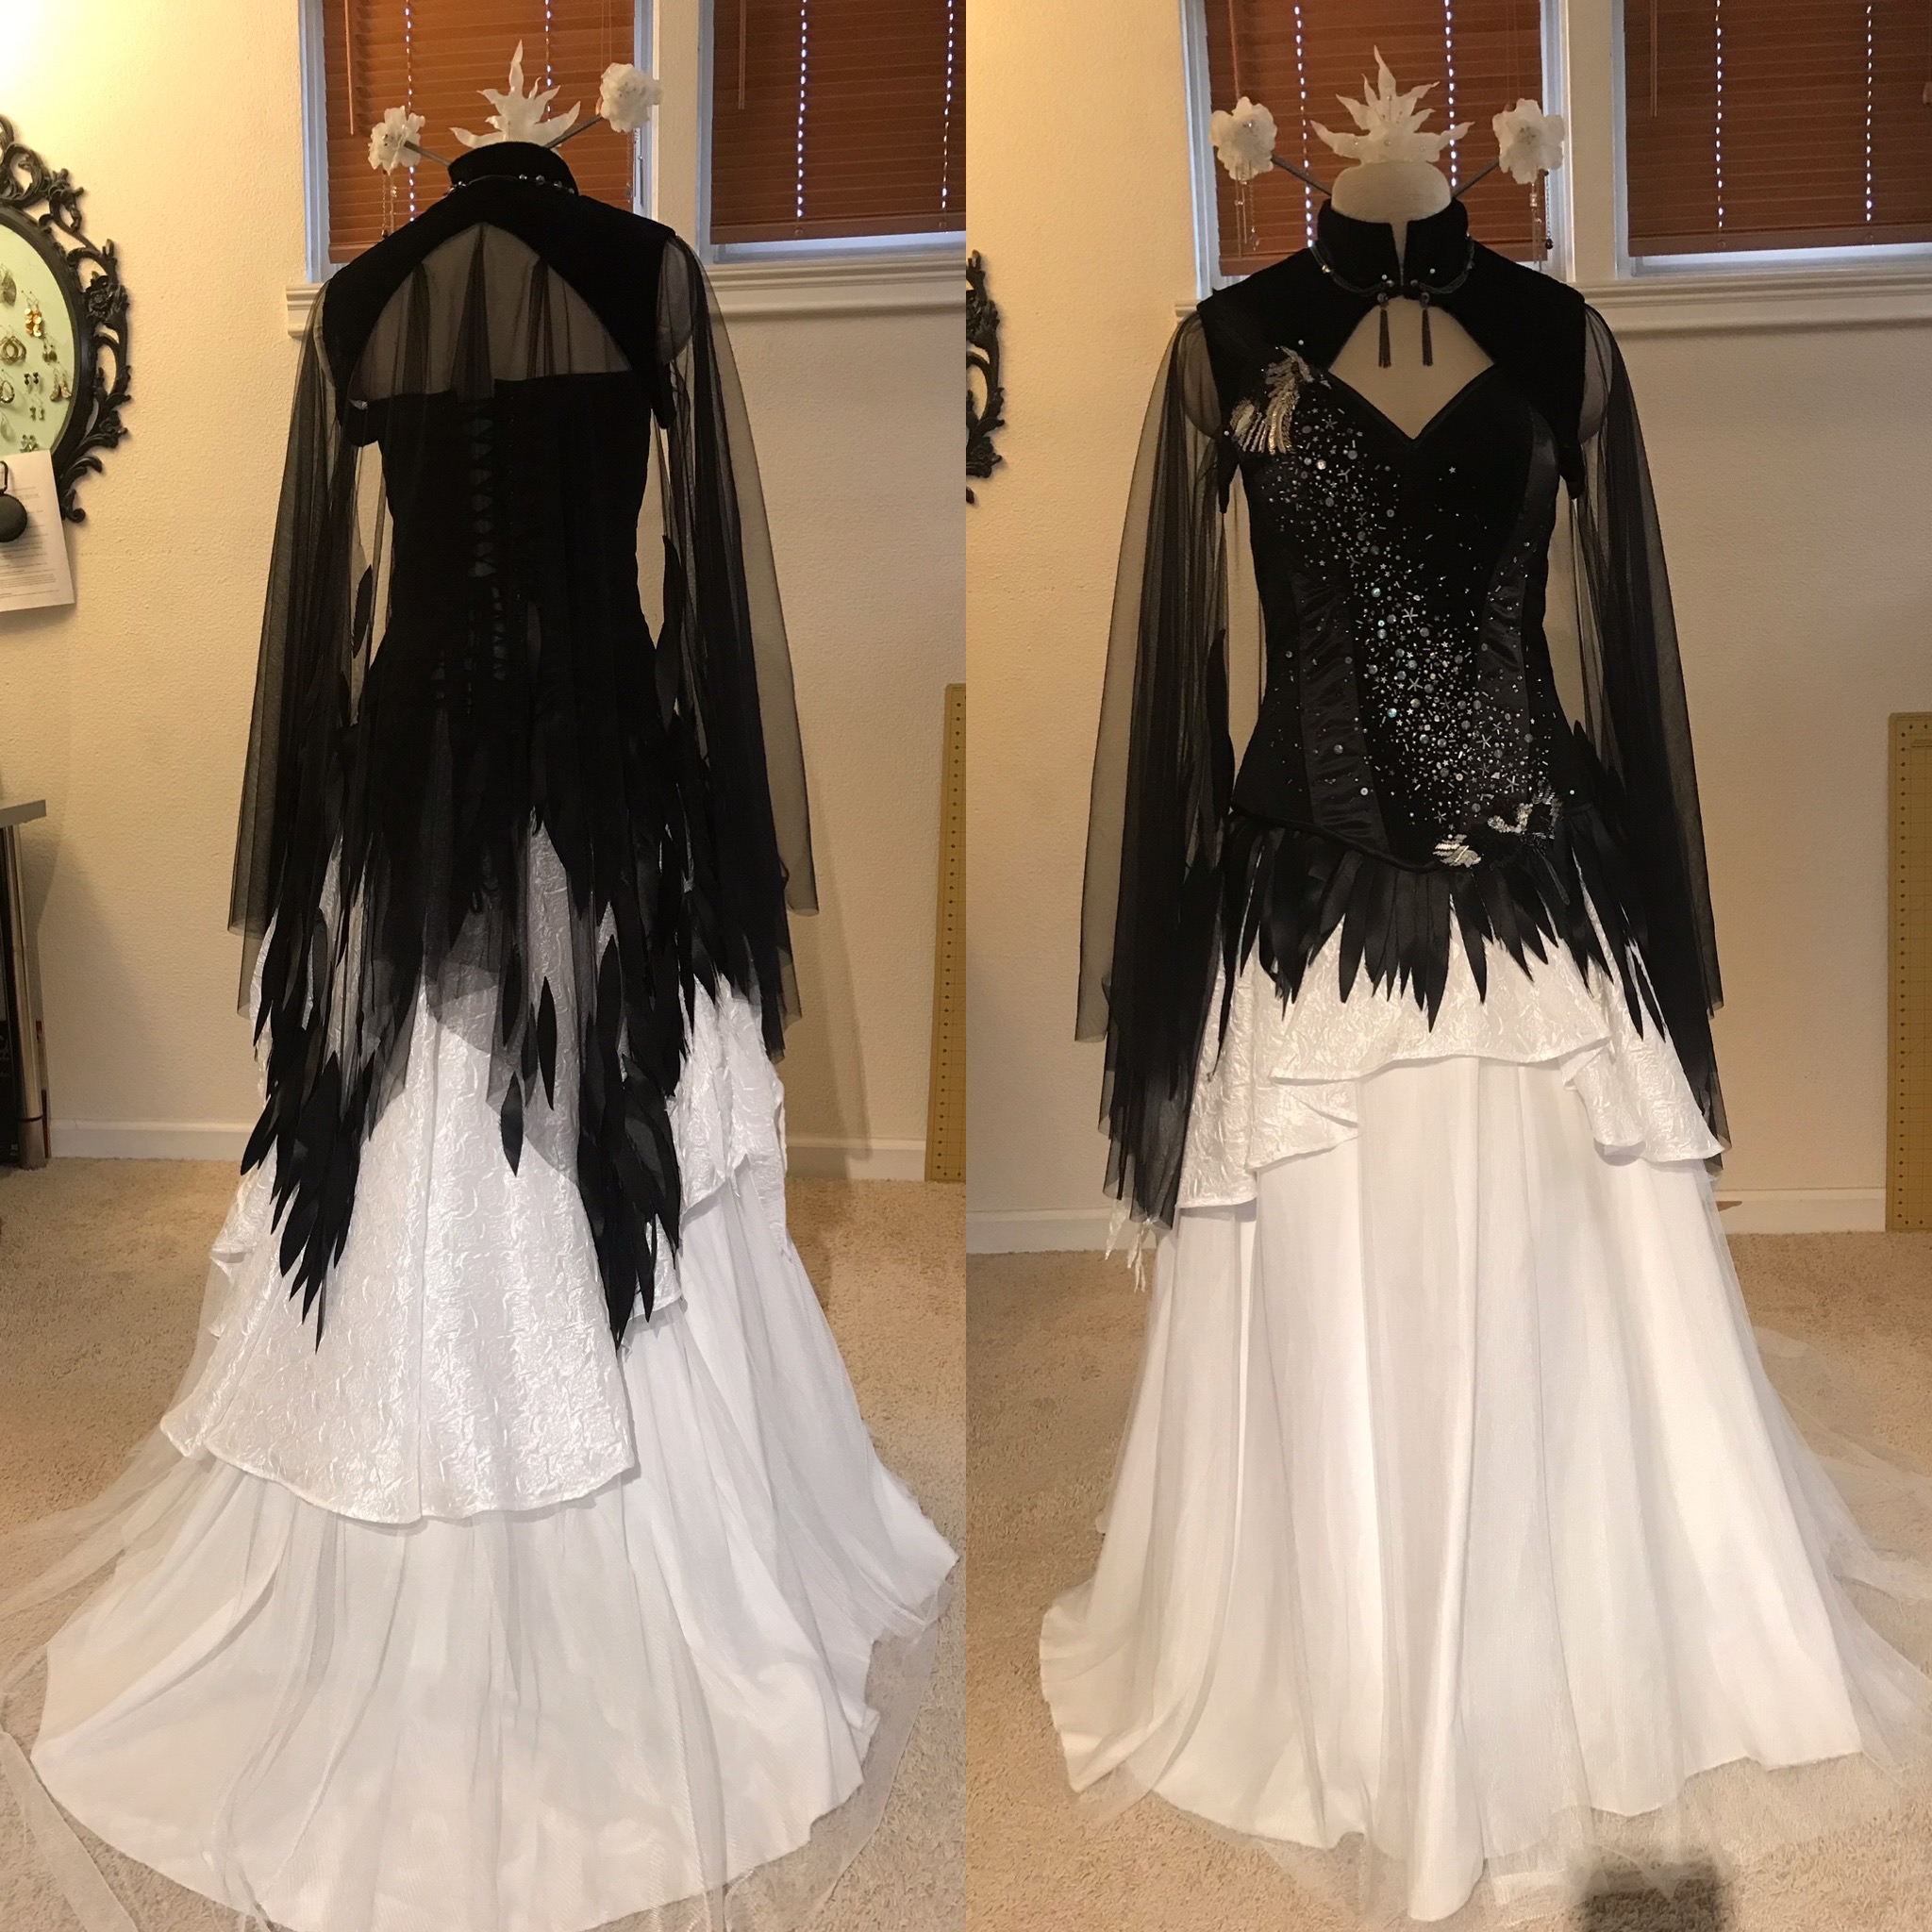
| Here's a visual to go along with my blurb! This was just a quick snap of the back and front views when I was trying to explain to my photographer friend what we were working with when trying to pick a shoot location. |
I'm mostly satisfied with my summary, but for a more detailed account, let's rewind (imagine the cast of Hamilton singing "rewind...rewind!")...
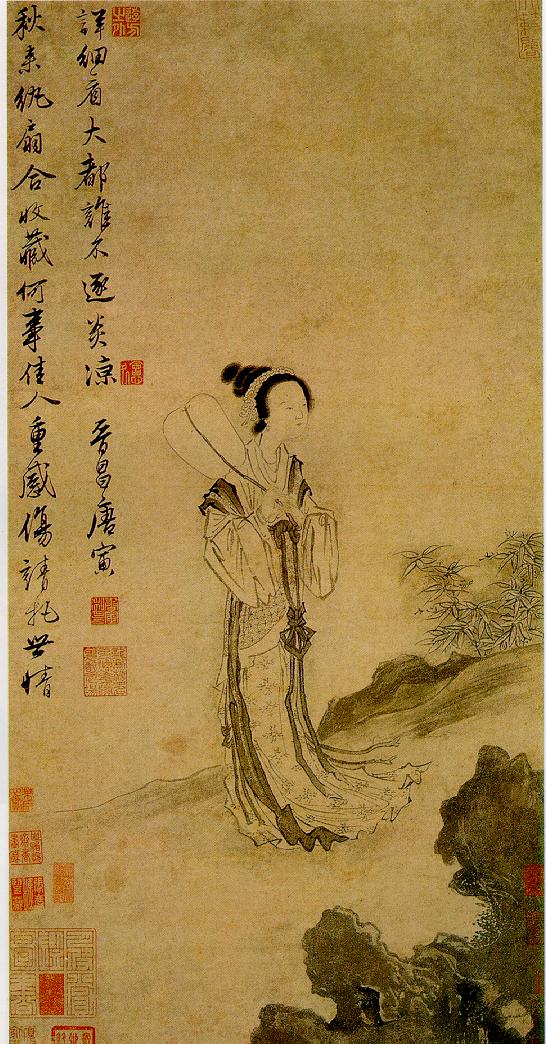
I knew magpies would be a focal point on my piece, and I had just treated myself to the Game of Thrones costuming book, which featured gorgeous pictures of Michelle Carragher's beading and embroidery, so I decided to make beaded magpie appliques. Of course, I don't actually know anything about proper beading, so I just stretched some black silk organza over an embroidery hoop and started sewing. I used embroidery thread, ribbon, and random beads from my stash and just sort of kept going and hoping it would turn out well. My first bird was definitely a #birb in its delightful mishmash of materials and styles, but I think as a whole it gives the right impression.
 |
| You can tell I was just sort of trying whatever for each of the wing feathers. |
On the second magpie, I had a better idea of what I was doing and actually planned where to put each kind of bead (I also went out and purchased some more coordinated black/white/silver/iridescent beads from a local mom-and-pop bead shop that I'm frankly shocked has still survived), resulting in a less haphazard-looking bird. I used Fabri-Tac glue all over the back to secure the threads, then cut out the silk organza so I could eventually sew each bird in place.
 |
| Much more stylistically cohesive! |
Even though I had yet to finalize the embellishment design, I knew I wanted a black corset with alternating satin and velveteen panels, so I started working on that first. The satin is more of the lining from my Loki-bounding bolero, and the velveteen is leftover from the doublet I made for The Actor's Nightmare. I underlined all the pieces with flannel from an inherited destash to provide a bit more body and cushioning for the beading to come. I then made the boned "strength" layer from two layers of muslin; I justify not using something heftier like coutil by reasoning that this corset doesn't actually provide any reduction, so it's more of a boned bodice than a true corset.
 |
| Outer layer: poly satin and cotton velveteen panels. I had to hand baste each panel to the flannel underlining, then hand baste the panels together because of the the shiftiness of slippery satin against napped velveteen. |
 |
| After sewing all the panels together, I then catchstitched all the seam allowances down. Also by hand. |
 |
| I started throwing fabrics onto Cecily and pinning on ideas for embellishment. At this point I was still thinking about feathers in different fabrics, but I didn't like how it looked. |
Once I decided on the Milky Way as my inspiration for the front of the corset, I was excited to just dive in after reading this tutorial. Beading the outer layer was exceedingly relaxing and a nice way to cope with the ongoing pandemic and inability to see friends; I could get into a groove every night where all I had to do was listen to podcasts or watch Netflix/Costube and focus on selecting and placing the next "random" bead in order to get a casual "Oh, I just sprinkled some star dust over this old thing!" sort of look. I also added some layers of batting on the inside to pad out the bust a bit, since I originally finalized this pattern back when I was still breastfeeding and had not yet deflated. Then it was just a matter of basting the outer and inner layers together and then binding the top and bottom. Since I didn't know how much the circumference would change with the addition of all the layers and boning, I finished the back edge by folding in the edges and then topstitching after I held the bodice up to my body to figure out how much space I needed. Even so, I still misjudged because the finished corset laces almost closed, when I had been planning for a two-inch lacing gap. Setting in the grommets was made easy and painless with the help of AJ's tabletop grommet setter, reminding me once again how grateful I am for the help and generosity of my costuming community.
 |
| You can see all the stitching on the back from the beading, plus my little batting bust pads. |
 |
| At this point, the magpies were only pinned on. I don't love all the wrinkles that are especially visible on the satin, but this is what comes from only learning about roll-pinning after finishing up this piece. *facepalm* |
To make the feathered bottom edge, I toyed with the idea of sewing them directly to the corset, but ultimately decided that I wanted to be able to remove them if I wanted a slightly cleaner look when wearing this corset in the future. To that end, I sewed them to a bias strip, then hand-stitched a series of snaps to the strip and the inside of the corset.
 |
| I could even theoretically attach this to something else in the future! |
For the skirt, I knew I wanted lots of layers, but also didn't want to buy lots of extra fabric. I took the elastic waistband off of a skirt I had made for the #postapocalypticantigone production, since I liked the look of the gauzy net curtain over the white sheet skirt, plus reuse is always a plus. It already featured a long train since it was supposed to be part of a wedding outfit, so to continue the lines I decided to layer this textured polyester fabric in a high-lo circle skirt over it. The resulting cascading waves of fabric pleased me greatly, and made for really dramatic photos.
 |
| Poorly lit shots but you get the idea. |
To make the bolero/feather cloak, I wanted more black fabrics, but they had to be both complementary and different. I still had some pieces of this embossed velvet tablecloth (already used for this justaucorps, pair of breeches, and collar), and was just able to eke out two tiny fronts and backs and a collar. Just....don't look too closely at all the directions that the nap is going... For the cape and sleeves, I caved and purchased three yards of black netting so that I could keep a visual tie-in with the underskirt and also not totally obscure the back of the corset. I draped one yard across the back until I was happy with how it hung, and then cut two full sleeves roughly following this diagram. Then it was several nights of cutting out, experimentally pinning, and hand-sewing individual fabric feathers until my hands were blistered and cramping. Worth it, though, for how cool the cape looks, like the feathers are just flowing off.
 |
| This is also one of the only times I can think of where I was close to running out of pins, as I had to do so much fussing around with the feather layout. |
Because of the sheer nature of the fabric, figuring out how to finish everything was a little tricky. I sewed the shoulder seams and side seams for both layers and attached the collar, leaving the armholes and bottom edges open. Then I basted the sleeves and netting to the lining of the bolero, folded in the seam allowances for both the lining and the velvet, and hand felled everything shut, going through the netting for each stitch.
At this point, I put all the pieces on Cecily for the first time in the whole process, and was horrified to see that with the corset underneath, the accidental asymmetry of my bolero (thanks for nothing, stretching of the bias edge) was very evident. That led to some panicked picking and resewing, then the horrified realization that I hadn't left enough seam allowance to fix it, and finally the idea to camouflage the worst of it by attaching more bling. Thankfully, I had just picked up a dark silver necklace from my school's "free pile," where people can leave items they're trying to get rid of in case other people want them. Usually it's just a bunch of tchotchkes and old magazines, but occasionally there's costume jewelry! I strategically deconstructed and reassembled the chain and beads to cover the wonky neck seam and front opening, and, like my Loki evening gown, this ended up being a happy accident since I love the finished look and don't think I would have arrived at this design otherwise.
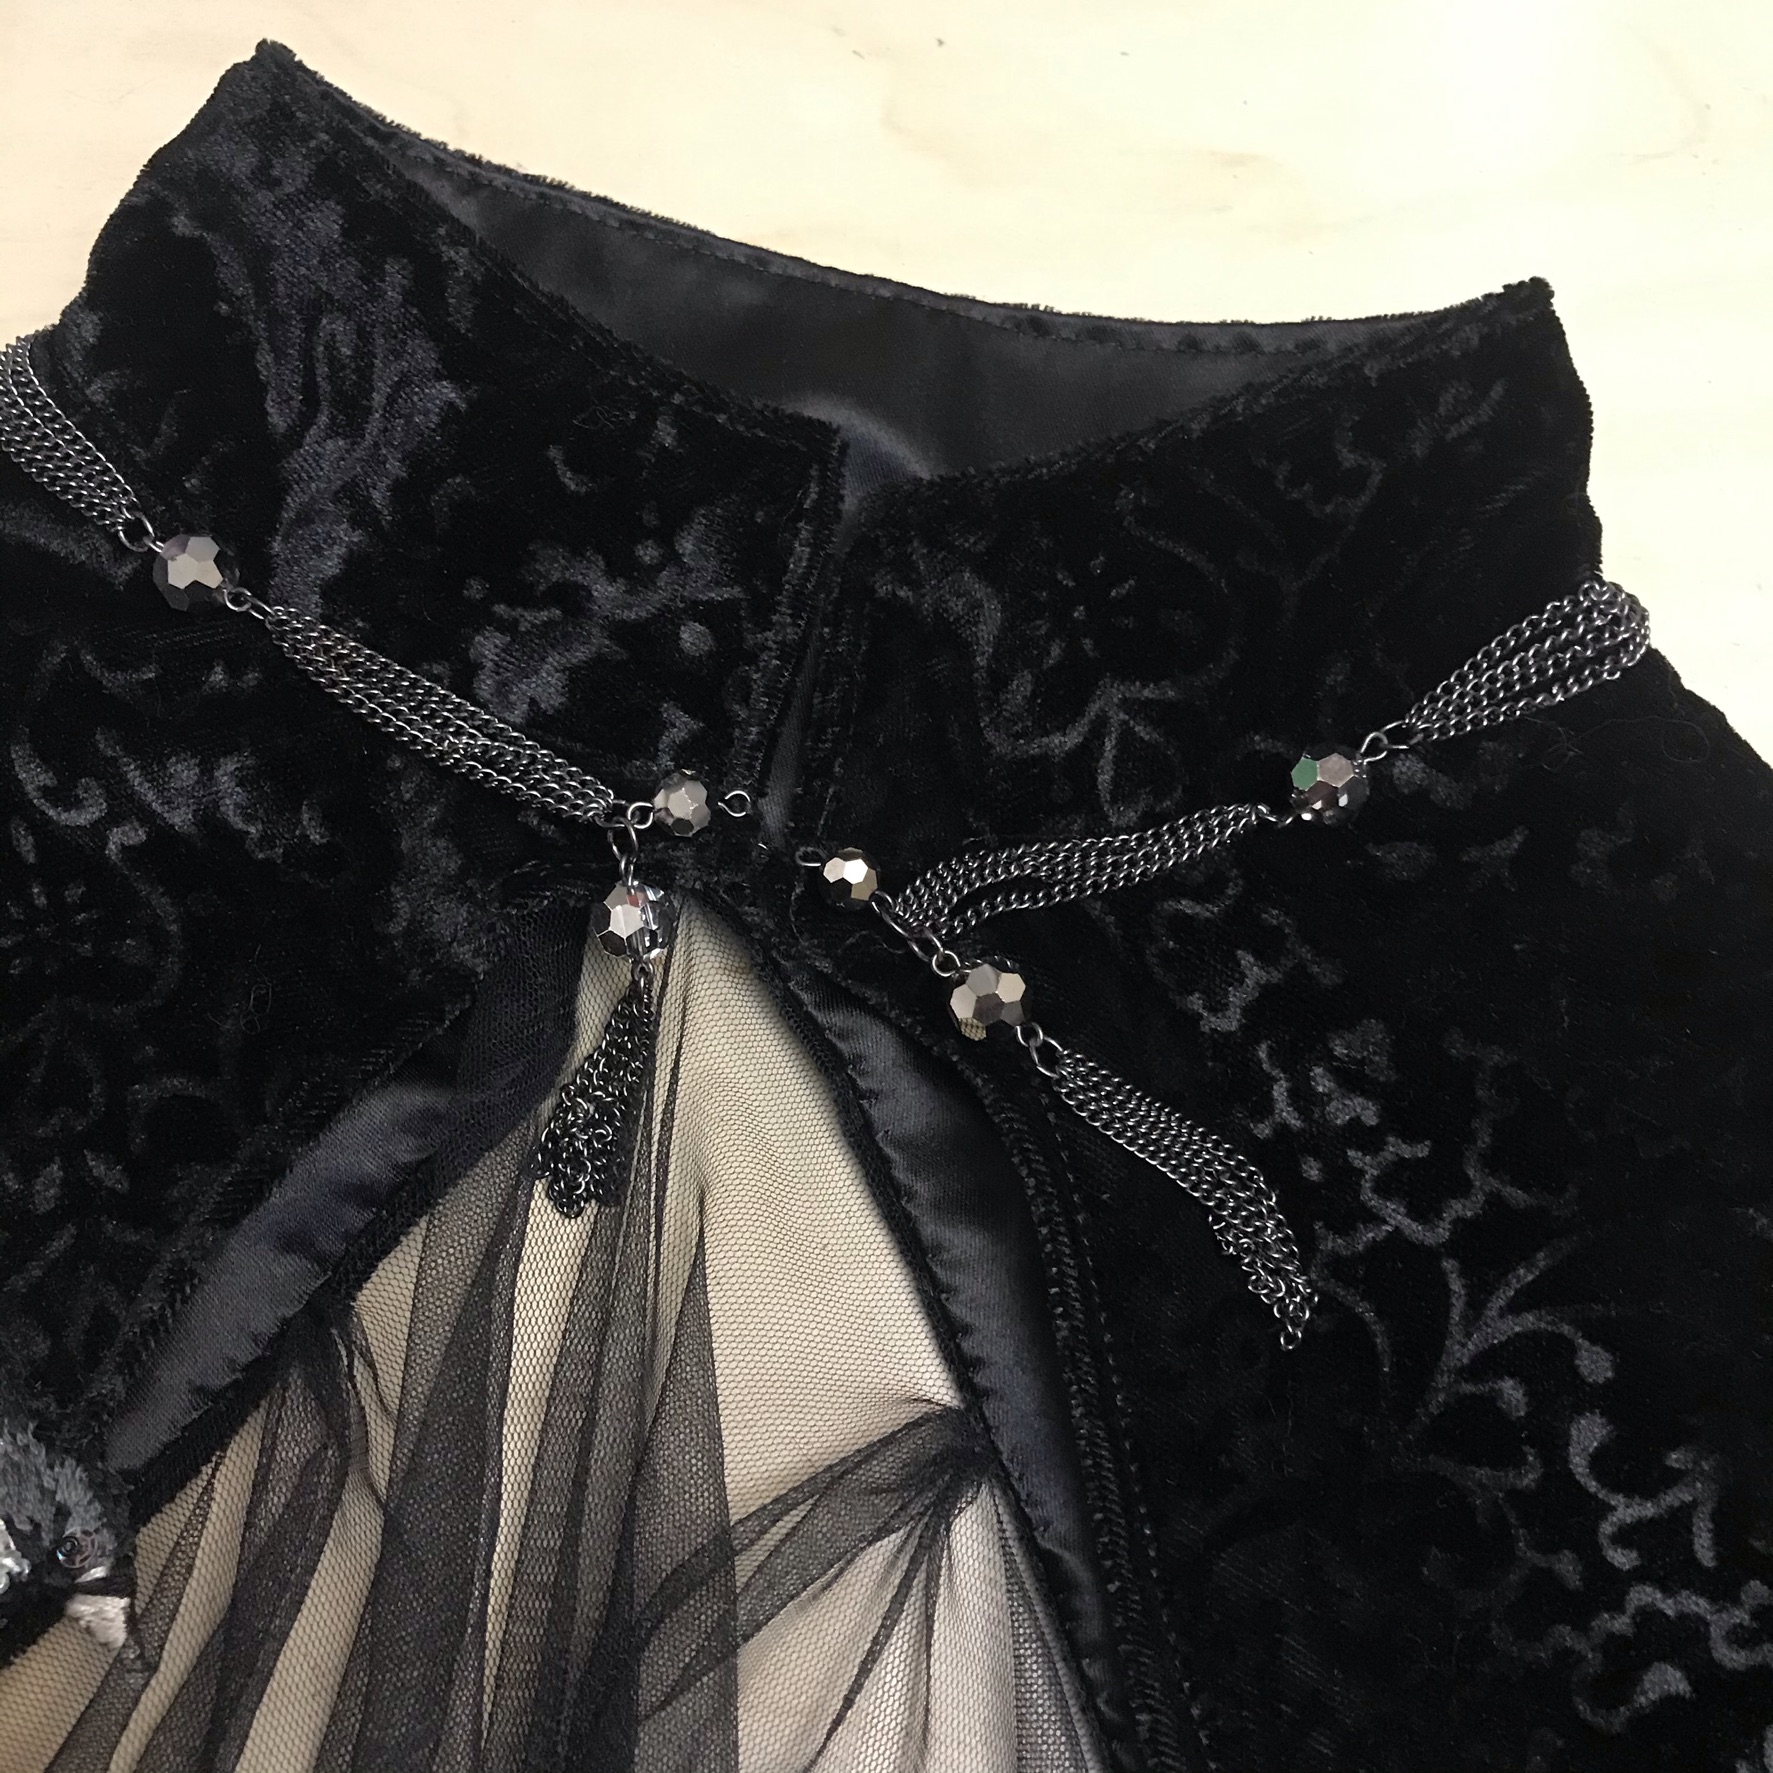 |
| I love how the dark silver chain and beads look against the embossed velvet. The front closes with a single hook and eye at the base of the collar. |
I already talked a little bit about my milk jug hair accessories, but here's an IG reel showing a bit of what the process of heating and shaping them looked like. The comb was vaguely inspired by the ATLA Fire Nation crown. The flowers are glued to an old chopstick (painted silver and varnished) and some of SHB#2's least favorite hair clips. Unfortunately, the "hair pins" ended up being too heavy to really hold in my hair, so at AJ's suggestion, I used a hair piece to help anchor it. There are actual pre-styled hanfu hair pieces you can buy, but I ended up using the hairpiece I got for my Princess Jasmine cosplay and using some careful placement of hair ties and bobby pins to fake the giant blob of hair on top that seems to be so popular among ancient Chinese women. The rest of my hair I just tied and twisted up and pinned, but there are wispy bits galore escaping. Oh well. Overall it gets the idea across, and it's not like this was ever going to be a historically accurate cosplay anyway!
 |
| See that giant blob of hair on my head? That's a fake ponytail that's had the ends looped under and sewn to the clip. Best thing is I can still clip the threads and take out the pins to return it to its ponytail state for other cosplays! |
 |
| I really do love the dangly bits best. These last two photos are from my shoot with @captured.by.shirelle. |
At the last minute, I considered trying to add some iridescent beads to the skirt because it seemed a little plain, but when that occurred to me, it was about half an hour before I was supposed to start getting ready for the photoshoot. Oops. Oh well, if I ever wear this to...I'm not even sure where I would ever wear this...I'll consider adding some beads. I also thought about making some milk jug feather pauldrons, but we could not drink milk fast enough for me to amass enough raw material for that. I'm still pretty satisfied with what I have to turn in, even if the imposter syndrome struggle is real. Looking through the #foundationsrevealedcontest2021 hashtag is dangerous; on one hand it's super inspirational and exciting to see how others are interpreting the brief, but on the other hand since others may not specify the skill level they're entering at, I don't know if I'm expected to have the same level of design and fit. I know comparison is the thief of joy and all that, but another consequence of the introspection I've been doing about my childhood and upbringing is realizing that I have been ingrained with a scarcity mindset. Because of all the comparing that my parents did of my achievements with those of their friends' kids, and the general immigrant background, I get inordinately anxious when I feel like other people are doing well. I've needed to work on consciously putting aside thoughts of resentment and fear and jealousy, and replacing those with an attitude of celebration of others also creating beautiful things at different levels than me. As the contest organizers wrote, this is less of a competition and more of an exhibition that happens to have prizes.
Next up: the professional photos of all of it together!