Saturday, February 29, 2020

A Bed for Buddy Bear

SHB#2's favorite things right now are the colors pink and purple, flowers, butterflies, ladybugs, and taking care of her best friend, i.e. a stuffed bear almost as big as she is, named Buddy Bear. I'm not really sure how this happened, because I have most definitely not been pushing her toward (if anything, I've been pushing away from) stereotypically feminine colors or iconography or expectations for future childcare responsibilities. She does also enjoy large trucks and construction vehicles and Star Wars, but I'm trying to be a good feminist by not only not pushing her toward traditional feminism, but also not looking down on those interests if that's what she honestly enjoys. To that end, February's Kraft-tex project was for her.


When I got the February's Kraft-tex color of the month package, Orchid, SHB#2 immediately claimed it as her own: "Oh, eet's poh-poh! Eet's my favorite!" (i.e. it's purple: I love the way her toddler self pronounces things.) She's also been wanting a bed for Buddy Bear; ever since starting preschool she's been wanting to reenact her day with her bear: feeding it breakfast, doing circle time, teaching it songs, taking it to the potty, and putting it down for a nap. That last one is tricky since it's been established that the stuffed animal bed is a dog bed that's in SHB#1's room, but most of the time we need to leave the door to his room closed lest she destroy his Lego builds, so she could really use her own stuffed animal bed. I figured the size of a Kraft-tex sheet (18.5" x 28.5") was about the right size for a very shallow tray that would look more or less like the dog bed, since in SHB#2's mind, that is what stuffed animal beds look like.

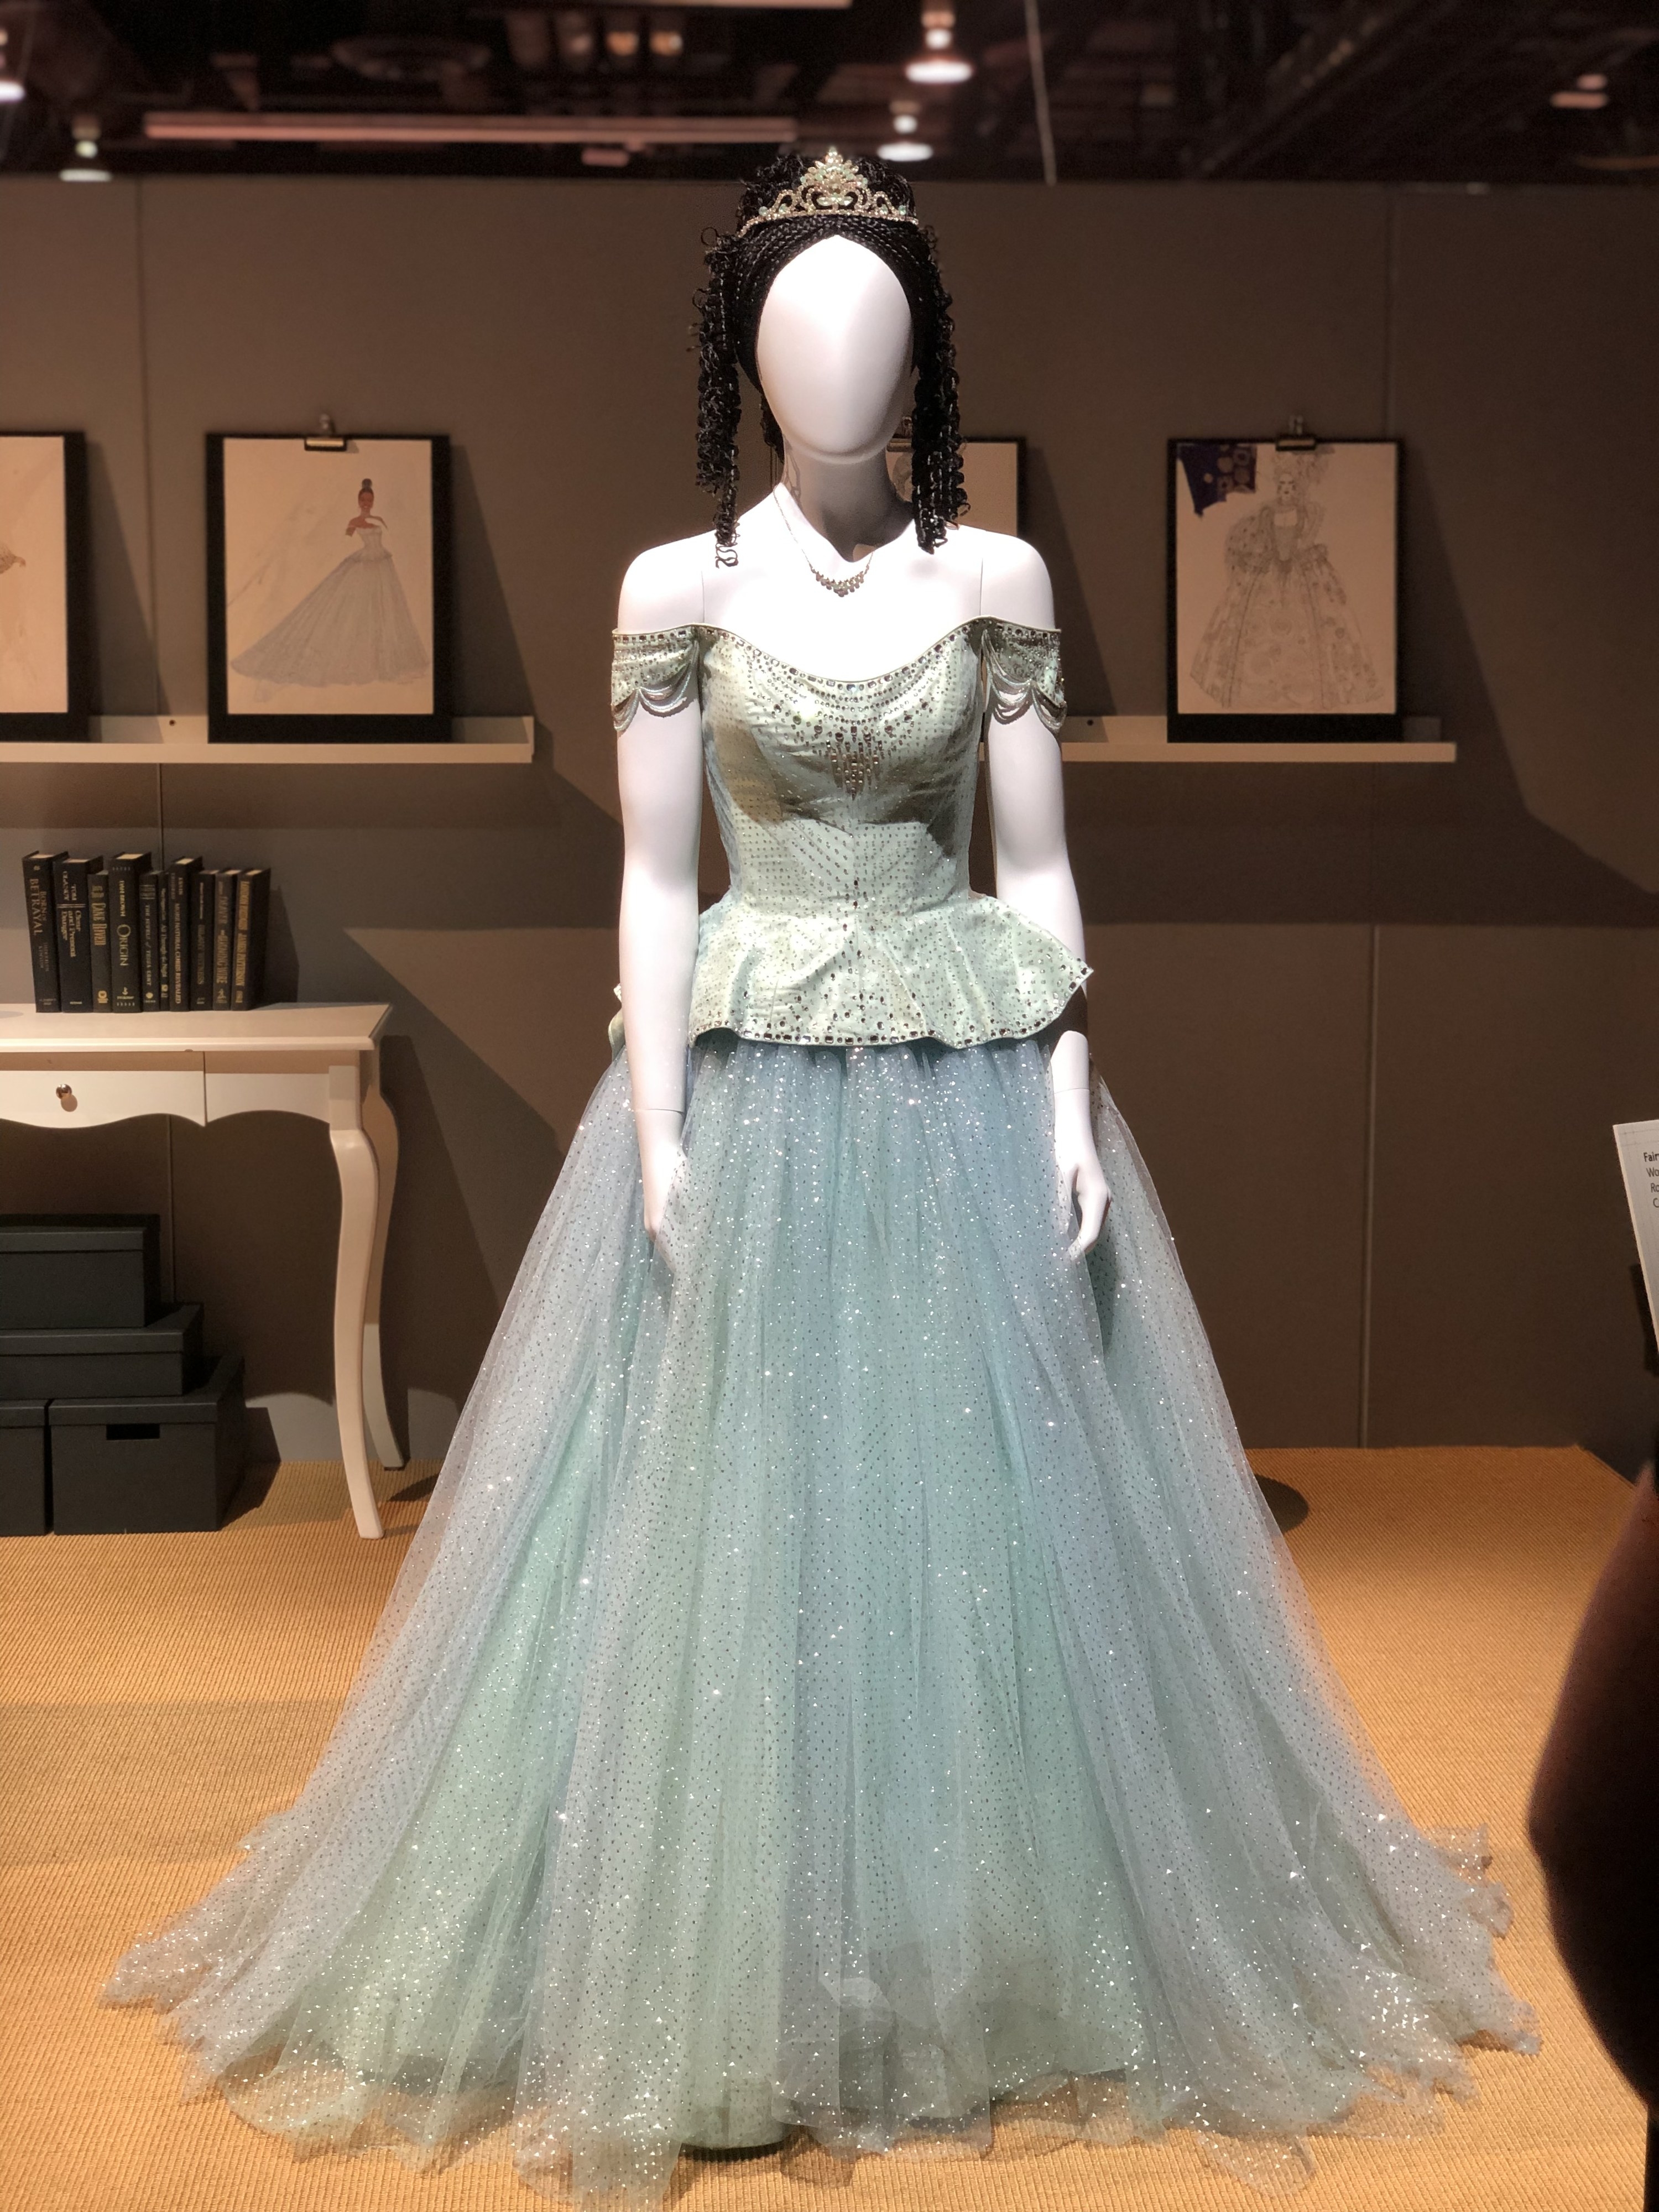
With a little pillow because I had some scrap muslin and batting. 


Since I still haven't taken my machine in for servicing (hello, #onepersoncostumeshop season), I knew I wouldn't be able to do anything that involves joining two layers of Kraft-tex together without getting unsightly gaping or weird stitch tension issues, and ideally I wanted to be able to flatten the bed and potentially harvest the Kraftex after she gets over this stage of play, so I thought for a long time about how to make a tray that fit those parameters. I ended up lining the Kraft-tex with a piece of flannel (pink, with ponies and butterflies and flowers, per her choice from my stash) and then doing some experimental folding to get it vaguely tray-like. Once I figured out how I wanted to fold the corners, I creased all my fold lines with a hera marker, then used those lines as guides for stitching. I also made two channels along the long edges so that I could insert large cable ties (leftover from corset-making) to help keep it from being quite so floppy. Then it was a simple matter of using my awl to punch holes in the ends and then threading some ribbon through to tie it all together. I was originally going to insert grommets for sturdier and more photogenic ribbon holes, but TBH my customer did not care and has already claimed the bed for use, so maybe I'll go back and insert them later. But probably not.

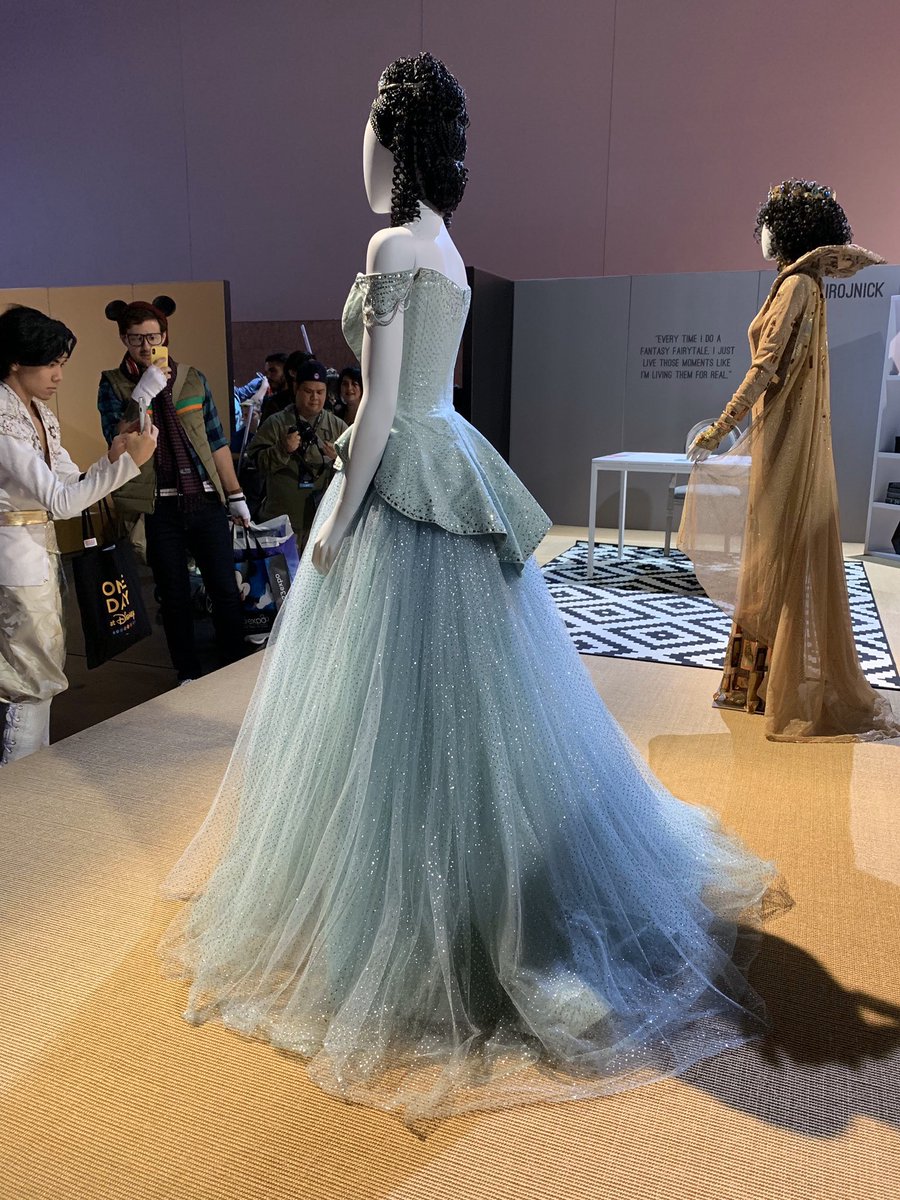
So much pink and purple. I just folded over the edges of the flannel and zigzagged all the way around the edges. It's not the prettiest but it's functional and I think actual bias binding would have been too thick for all the folding. 


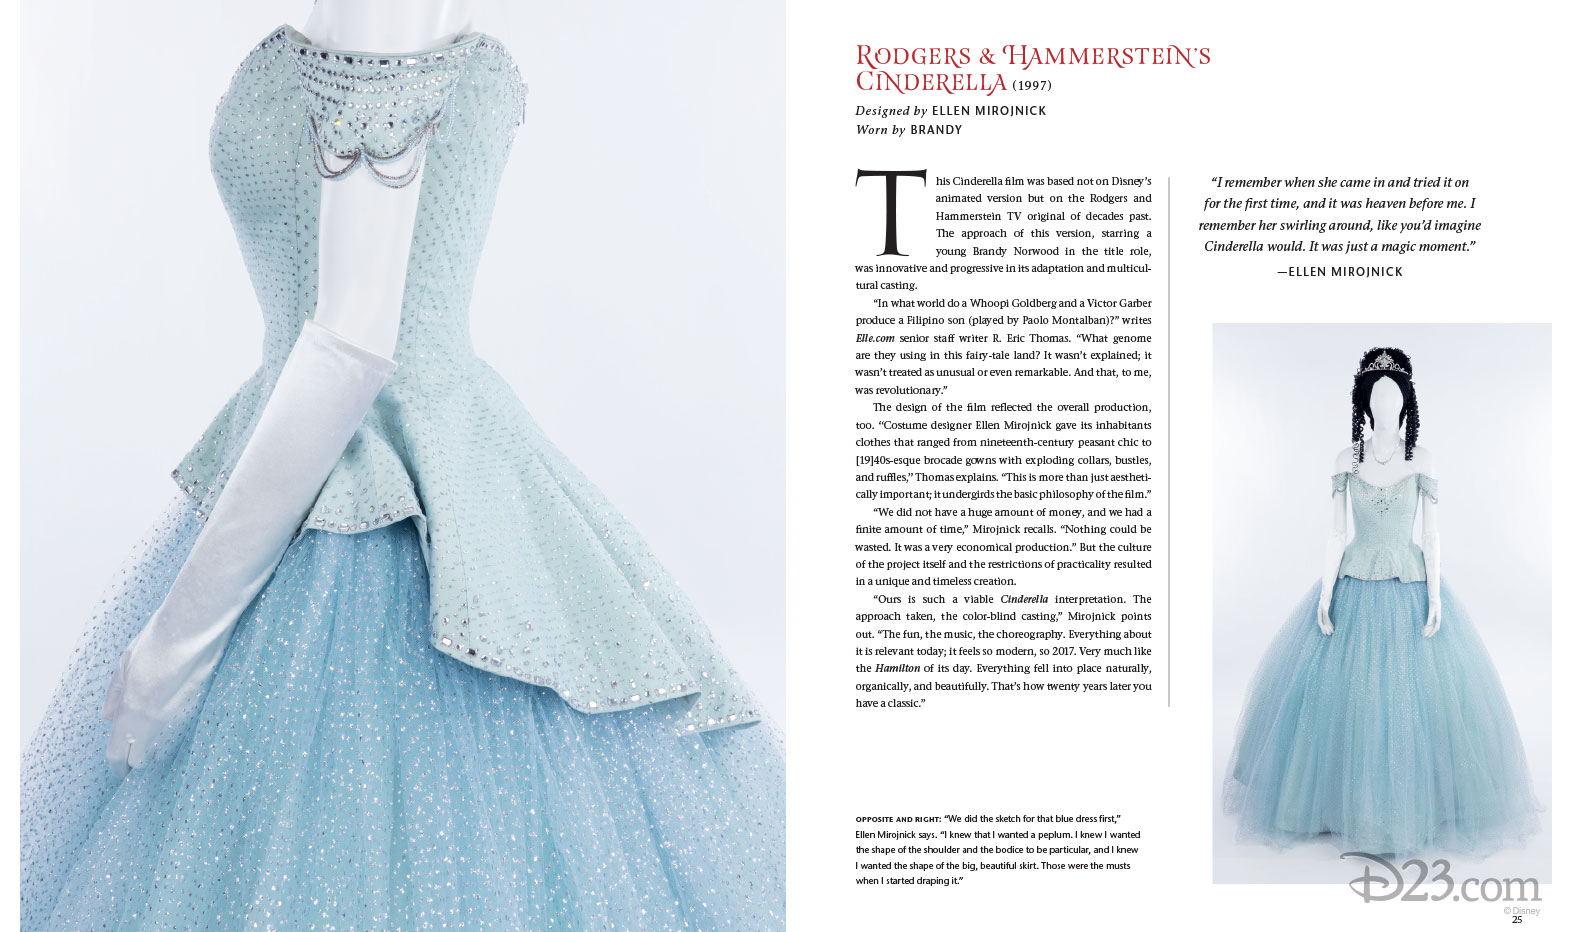
Here's a diagram showing how I did my folds and stitches and holes. The corner squares are 4" x 4", and all the lines inside the rectangle represent stitch lines where I sewed the flannel and Kraftex layers together. In addition to stitching, the dashed lines represent valley folds and the dotted lines represent mountain folds; the dash-dot lines that were NOT folded are my additional lines of stitching for the cable tie channels. Lastly, the circles mark where I put my ribbon holes. I punched these with my awl through all three layers at once when the entire thing was folded up (with WonderClips to hold the edges in place) so that I could be sure they would line up with each other properly. The final tray is just the right size for Buddy Bear, but still leaves a large flat portion of Kraft-tex in the middle that can be reclaimed and reused when SHB#2 no longer needs it as a bed. The ribbons also make it so the bed can be "taken apart" and flattened should it need to be stored away.
I feel like the SAT Math test, having to post a disclaimer that this diagram is not to scale. 

Perfect size for Buddy Bear (who, in case you want to know, is from Target's Cat and Jack kids' bedroom line).

All tucked in!

Of course, most people don't need very shallow tray beds to fit this very specific bear, but you could use this same principle to make a different sized tray depending on your needs, and maybe you'll actually take the time to put in nice grommets!


[Note: C&T Publishing provided the Kraft-tex for this project.]

Wednesday, February 12, 2020

A Brandy Cinderella Dress for a Small Human Being

Cinderella was my first favorite princess. My dad likes to remind me that when I was in preschool, he read the Disney Cinderella book to me every night at my request until he had memorized it. Cinderella was the reason why my parents started calling me Cindy (because my name is not actually Cation), and I watched the movie so many times that I have to think it must have had some effect on my eventually learning to sew, because I'm pretty sure it has the longest sewing sequence in a kids' movie. My parents were too frugal to ever buy dedicated costumes or dress-up clothes, but no doubt I would've worn a fancy Cinderella dress to rags (in a bizarre reversal of the movie's progression) had I owned one. I don't love Cinderella now (I much prefer my princesses to have more agency and badassery, like Mulan), but I will always have a soft spot in my heart for her. So when SHB#2's best friend, K, who loves Cinderella and dressing up, turned three last month, I knew I wanted to help make her princess dreams come true.

Here's the catch: K loves the 1997 Brandy version of Cinderella, and not the classic animated Disney one. There are tons of tutorials and patterns out there on teh interwebs for the classic Disney dress, but not much for Brandy's ball gown. Thankfully, at last year's D23 Heroes and Villains costume exhibit, the Brandy gown was on display so there were plenty of good reference pictures available even though the film came out awhile ago. I picked up a couple of different light blue sparkly fabrics from Joann's remnants selection (I make exceptions to my no new fabric buying rule for gifts, but even then I try to shop the remnants for small pieces that other people may not want) and started plotting about how to make this dress happen for a very small human being.


I love that  on the left you can see an Asian guy dressed as Paolo Montalban's prince taking a picture of the dress on display...I mean, how often does one get a canonically Asian, non-animatedprince?  


Having taken the evening gown construction class, I now know that a waist stay and boned bodice are essential for having a strapless dress stay up, but obvious I wasn't going to be putting such structure into a child's dress. Also, the fabric I found for the bodice was stretchy, because I wanted this to be a comfy, easy(ish) to put on fun costume. I decided that clear swimsuit elastic was the way to go, in the form of straps to hold up the top while the little droopy sleeve swags just hung decoratively. I knew that K and SHB#2 were more or less the same size, so I used one of her tops to draw up a vaguely raglan-sleeve-type pattern, where the sleeve had enough room to fall off the shoulder to look like Brandy's dress. I sewed some pintucks on the front and back to visually mimic the Vs made by the rhinestones on Brandy's dress, and added some pearls and silver beads from my stash to give the suggestion of a jeweled dress without covering the entire thing. Since the velvet is sparkly, I think the overall effect is sufficiently fancy. After semi-blinging out the top, I cut and attached a circular ruffle that was longer in the back to match the peplum on Brandy's dress.

Sorry, these are really not the best pictures because 1) glittery/sparkly throws off my phone camera, 2) our house does not get great light, and 3) SHB#2 was grabbing me while I was trying to quickly snap some pictures before wrapping it up to leave for the birthday party.

Tiny silver and pearl beads at the bodice neckline! Also, the tiara was one I bought for a costume party in high school, wore once, and forgot about until my mom was cleaning and found it and gave it back to me. I figured it should go to a little girl who could actually appreciate it. 
Back!


Brandy's skirt has layers and layers of fluffy tulle, but I couldn't find a good color match at Joann's. I did find half a yard of this nylon net with embroidered glittery flowers, though, which I deemed to be good enough. I layered it over some white dotted net (leftover from this top) and periwinkle blue knit fabric (leftover from making Mulan costumes) to get the blue-ish layered look, which worked pretty well, I think! The three layers were gathered into a white 2"-wide soft elastic waistband, then I hemmed the knit, innermost layer with some horsehair braid to help it stand out and away from tiny feet. The dotted net layer I left unhemmed, and the outermost embroidered flower layer has a whopping five inch hem. Since I didn't want a line of stitching going around the skirt, I just hand-tacked the flowers together where they overlapped. The nylon net is sheer enough (and there enough going on in the underlayers) that the overall effect is a mostly invisible hem, with the added bonus of the wide hem helping the overskirt to poof out more. With such a generous hem and the elastic waistband, there's plenty of room for growth (at least in the skirt, if not the top) for years to come.

Sparkles and glitter abound!


You can see the three layers of fabric here. 
Here's a close-up of how I folded over the outer layer. The flowers lined up very nicely, and the stiffness of the embroidered flowers at the bottom also help to keep it from collapsing in on itself. 


I think the finished outfit was received pretty well, considering K put it on right away and has been wearing it regularly ever since. I know the Selfish Seamstress (oh how I miss her presence in the sewing blogiverse!) says that sewing for kids is not to be done, but alas, motherhood has changed me and I am less selfish about sewing for others now. That said, I'm still only going to sew fun things, like costumes!

Blurry again, because have you ever tried to get a photo of a three year old in the evening, indoors?


The only problem is that throughout this process, I kept trying it all on SHB#2, such that by the end she thought it was for her. She was a little disappointed that it went to her bestie, so I think this means I need to make a floofy princess dress for her now...