Thursday, May 28, 2015

One Dress, Two Bodies

Does that sound like I squished two people into one dress? Oops.

About a year ago I solicited opinions via Instagram regarding possible dress designs for a wedding I was attending. I never posted about what I ended up deciding, but I did make the dress and even wore it to two weddings. Then I hit third trimester and was way too tired to think about sorting through pictures and blogging it.


Fast forward to last month and another wedding to attend, when I realized that even though I fit back into all my pre-pregnancy clothes, very few of them are nursing-friendly. And as it so happens, that maternity wedding dress has a crossover bodice that's perfect for boob access. So I guess that's bonus sewing points to me for accidentally making such a versatile dress!

I ended up using New Look 6936, but color-blocked and with a mullet hem. The hint of mint came in the form of an unattached long tie belt that can be switched out for other colors and styles of belts, as gray and navy blue go with a pretty wide spectrum. Here's what it looked like seven months into my pregnancy:


Generally I don't look much like my sister, at least according to popular opinion, but in this one picture I kind of do. 

Ah, that classic maternity pose with hands supporting the basketball belly. 

This seems so long ago! I've forgotten what it felt like to have a huge belly sticking out and little fluttery kicks keeping me up at night.


And here's what it looked like seven months out of my pregnancy!

The tired look is a combination of bright sun + actually being tired,
thanks to SHB waking up five million times a night. Yay teething. 
And yes, I dressed him in matching mint and navy blue :)
"Check out my sock! It matches too!"
It's so crazy that that basketball in my belly turned into this small human being!

Summary:
Pattern: New Look 6936
Fabric: 2.5 yards of rayon jersey knit in gray and dark blue for the dress; the belt was made by butchering an old me-made dress from 2010
Notions: Elastic for the waist
Hours: Three? I made it last year, so I don't really remember.
Total cost: Less than $5, thanks to Michael Levine Loft's fabric by the pound and FIDM's $2/yd section. Wow, it's been ages since I went shopping in the LA fabric district!
Final thoughts: The pattern itself is kind of boring, but I do like the fluttery sleeves. I keep toying with the idea of cutting off the back mullet hem since it's kind of inconveniently long, but it's so fun and swooshy. I also didn't intend for this to be such a cleavage-y dress, but breastfeeding changes both one's boobs and one's need for low-cut tops. I guess I should take advantage of the one time in my life where SBAs aren't necessary?


Hey little man, my eyes are up here. That's better. 


Tuesday, May 26, 2015

The Geekiest Baby: A Firefly-Themed Birthday Present


"Yes... yes. This is a fertile land, and we will thrive.
We will rule over all this land, and we will call it... This Land." 


"I think we should call it... your grave!" 
"Ah! Curse your sudden but inevitable betrayal!"


"Hahaha! Mine is an evil laugh!"

I promise this is the last SHB-related sewing for a while! I'm tired of making tiny things and will go back to making Large Human Being items. But indulge me in this last project.

SHB's friend (okay, the child of my friend, because babies don't really have friends) turned one this last weekend and we were invited to his birthday party. I wanted to make a little something for him, and research shows that beanbags are a good item to make for a small human being. While I would ordinarily just go for cats like Gillian did, I realize that not everyone has seen the light is a cat person. Now, this kid's mom is a huge Firefly fan too, though, so I racked my brains trying to figure out what I could make that would be rated G. Reaver beanbags? Dead-body-that's-not-actually-dead beanbags? Stolen-drugs-from-an-Alliance-hospital-for-selling-on-the-black-market beanbags? Hmm, maybe not. But wait! Wash has dinosaurs on the dashboard! Only thing is, how can I make them specifically Firefly dinosaurs, and not just generic dinosaurs? And that's when I decided that a tiny grave plushie was appropriate. Further stash searching revealed that I still had fabric from this dress leftover, which was perfect for making a drawstring playmat "This Land" to go with the beanbags.

I think the little fabric tag on the drawstring makes it look more real.
With the beanbags for a size comparison.
Summary:
Pattern: None for the beanbags, I just freehanded them. As for the playmat, does one really need a pattern for a circle?
Fabric: Fleece scraps from the stash for the beangbags, thrifted cotton sheets for the playmat (one square yard each for the front and back)
Notions: Polyfil stuffing and beads for the beanbags, cotton cord for the playmat drawstring
Hours: An hour and half for the beanbags and an hour for the mat.
Will you make it again? I still have enough fabric to make a set for SHB when he gets older...
Final thoughts: Thankfully, my friend appreciated the humor of the set and didn't think it was morbid to give a grave to a one year old as a birthday present.

As far as I'm concerned, this is the only appropriate use of the Papyrus font, and only just barely. 


This is also the same friend who loaned us this Jayne hat so that SHB could take a picture with his Blue Sun shirt:

"You know what the chain of command is? It's the chain I go get and beat you with until you understand who's in ruttin' command here." Hmm, somehow plastic links don't seem that scary, although there's no doubt that it's his nap schedule that's in command of our lives over here. 


Okay, that's the end of geekcrafting for SHBs for a while. I've got a couple of unblogged fancy dresses to show off, just as soon as I sort through the photos!

Sunday, May 17, 2015

SHB Sew-Along Winners and Category 2 Round Up: Baby Accessories


For any sewist/sewasaurus/sewer/someone who sews, there are some items that fall into the mental category of "really difficult to make," e.g. jeans, evening wear, corsets, and tailored coats. When someone successfully manages to make one of those items, invisible choirs start singing and the scent of peaches wafts through the air, and one is instantly transported to a daisy-filled field where one can frolic (ironic, considering that three of the four items I listed are not really field-suitable, frolic-type garments). On the other hand, there are some items that are so mundane, so deceptively simple, so normal, that when one makes such a thing, it's rarely noticed and hardly celebrated. I think baby bibs fall into that category. When I tried making some for SHB, they were hilariously Becky Home-Ecky, to the point that they made SHB cry to wear them.


Okay, so maybe he wasn't crying about my amateur-looking bibs, but I think you get my point: there are some items there's no glory in sewing, but to do them well and have them look professional can be harder than you think. So I'm here to celebrate the meticulously assembled, generally gorgeous baby accessories that you all sewed during the SHB Sew-Along. I first shine the spotlight on the various bibs, of course:

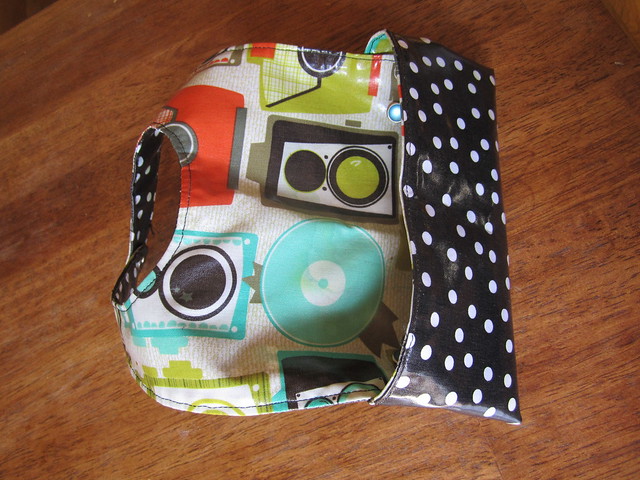
Neenkster's reversible bibs in adorable prints (and props to her for sewing with an SHB and cats).


Dorisaurus' be-owled bib must have taken so much patience to applique!


Mealtimes with SHB have shown me the usefulness of catch-all bibs; ofingleside's ultimate bib has way more personality than my generic silicone one...isn't her print combination great?

'Ultimate' baby bib


You all know what a soft spot I have in my heart for softies, so I'm glad somebody made a toy, and check out what a toy! I think it's great that Helen of Grosgrain Green had such fond memories of a similar doll, and is passing that on to her SHB.


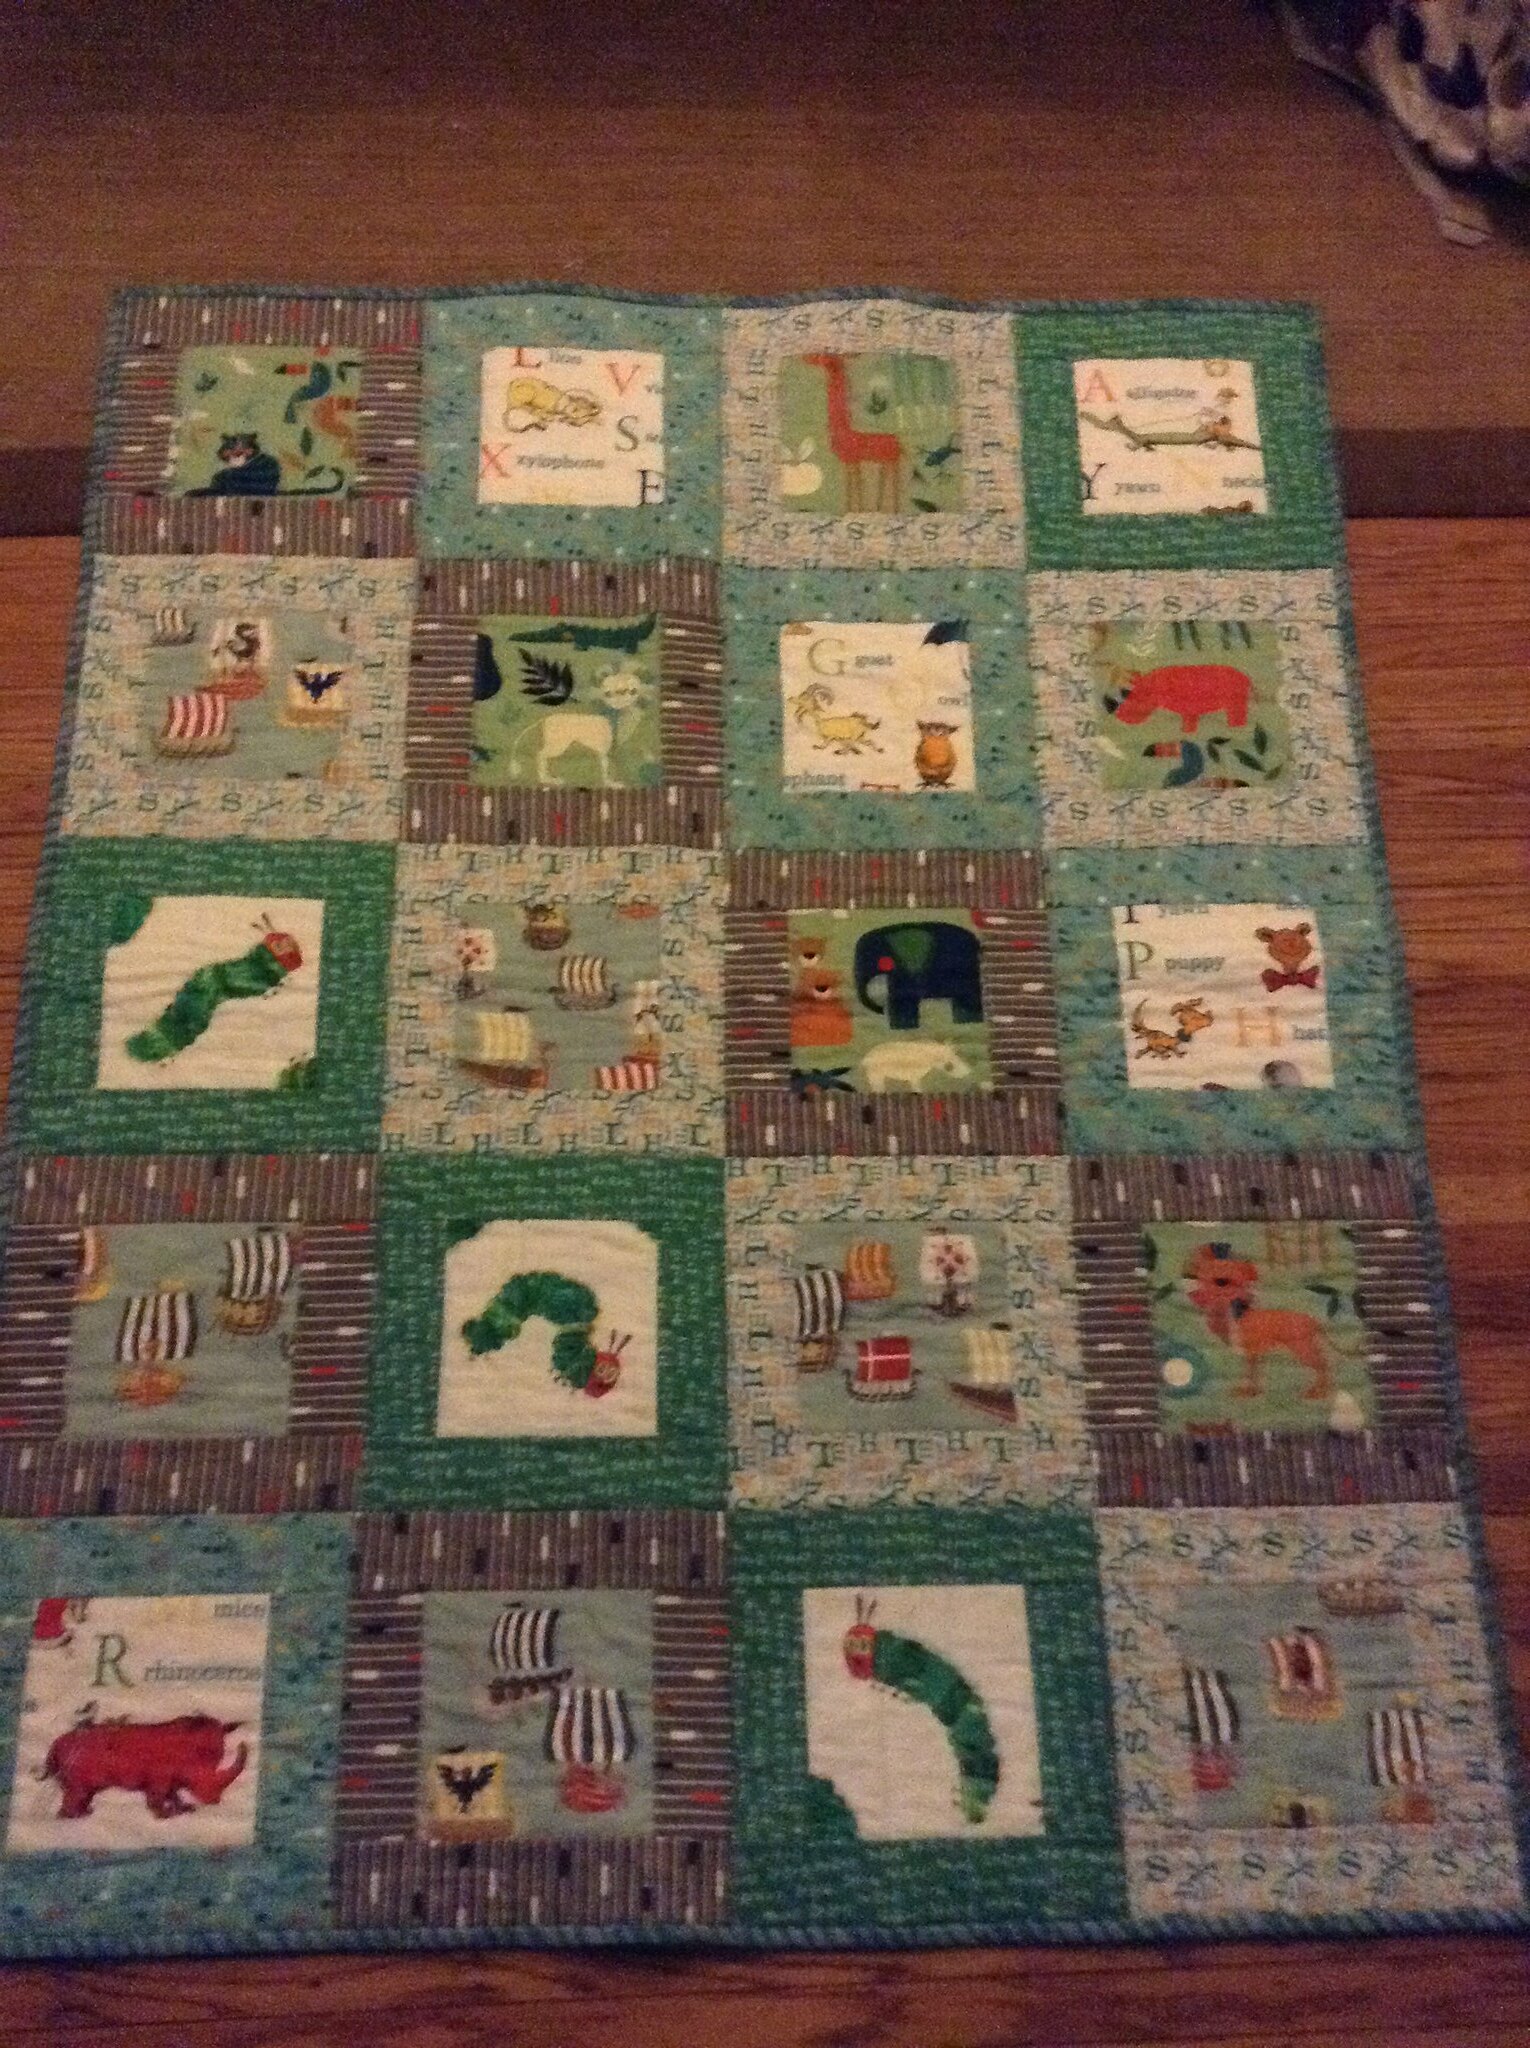
Having made a couple quilts of my own, I know how much work they take, even if it's all just straight-line sewing. This one by Emily has a beautiful selection of fabrics that works well together:


Don't discount the sleek look of a simple, well-made receiving blanket, though, like these two by Alice


Ergo-users with mouthy babes, unite! Love that Lanamfacio's strap covers boast 50% less napkin, but hey, no shame in reusing textiles...I do it often enough myself.


SHB slept swaddled for all of the fourth trimester, so I know how useful these swaddles by the Itinerant Seamstress can be:


Speaking of bundled up babies, this bunting by mollysews makes me want to squee:


And I know this Tolkien-themed quiet book isn't actually an official entry, but the geek in me just has to shine the spotlight on Becky's delightful ongoing project. Check out that hand-stitching! So literary! Much detail! Very wow!

A photo posted by Becky (@sunnyb64) on


It was so fun seeing what everyone else came up with for this category and I was impressed by all the clean, professional-looking sewing! It's been a pleasure sewing along with all of you, and I hope your SHBs get a lot of use out of these accessories.

And now, the moment you've all been waiting for... the winner of the Ottobre Kids' magazine subscription is Jennifer of FernKnits! She made an assortment of accessories, from bibs to crinkle toys, but the one that really got me was this adorable little sleep-sack:


Now, the Category 1 (Baby Clothes) and Category 3 (For Parents) round-ups are over on Mikhaela's and Clio's blogs respectively, but I have the pleasure of announcing those category winners here. It was exceedingly difficult to choose from among all the fantastic sewing you guys did, but in the end we decided on Lee and Hannah! Lee's Category 1 Brindille & Twig hoodies look like they came from some high-end boutique, and Hannah's Category 3 Gondorian Mei-Tai carrier is just delightfully geeky. As for the Oliver&S Lullaby Layette patterns, the lucky drawing winners are Masha and Ofingleside! Winners, please email me (cationdesignsblog [at] gmail [dot] com) so that I can arrange for your prizes to be sent to you.

Once again, thank you to everyone who participated in our sew-along! Sometimes it's just nice to have that camaraderie (and a deadline) in sewing, even if we're all making different items. I hope you all felt as inspired and motivated as I did, and hopefully those feelings will carry along into this month too!


Monday, May 11, 2015

Hammerhead Shark Plushie Pattern and Tutorial


I know, I know, it's not Shark Week for another couple of months...but what can I say, I was still high on the thrill of having done so much cute sewing for the SHB Sew-Along. Speaking of the sew-along, we'll be doing a roundup and announcing the winners by the end of the week. It's been ridiculously difficult choosing because of how good the entries are! We wish we could give prizes to everyone, but alas, we must try to narrow it down to three winners.

Like these three sharks. Each shark represents a category? 

Anyway, I didn't know what to sew next, so I figured I might as well clean up my hammerhead shark plushie pattern. I spent a whole naptime digging through my box of self-drawn patterns, only to realize that I must have recycled the original pattern pieces, because who needs more than one hammerhead shark? This meant I had to redraw and retest a new pattern, which resulted in two more sharks: the red one was a little longer and skinnier than looked proportional, so I had to make the pink one to test my modifications. Yay, a trilogy! I love trilogies. Although, a trilogy of shark sounds like it might be on the menu of a very un-politically correct, not-at-all-environmentally-minded exotic meats restaurant.


The final pattern and brief instructions can be downloaded here, and I ask that if you link to it, you link to this blog post and not the direct download link. As always, any sharks that you make from this pattern should be for personal, non-commercial use only, i.e. please don't go selling these sharks at craft fairs and such.

If you're an experienced sewer/plushie-maker, it should be a relatively quick project; I finished my second shark, from cutting to sewing the side closed, all in an hour,  so when SHB woke up there was a new toy to chew/lick/suck on. I guess in that way, the trilogy of shark is on his menu.


If you've never made a plushie before or just want a step-by-step tutorial, I took the time to photograph the making of the last shark.

1) Sew mouth onto ventral (belly) piece. 
2) Sew fin pieces. Put the mirrored pieces right sides together (RST), sew, trim, and then flip. 
3) Place the dorsal pieces RST and sew A-B, the eyestalk edge.
This is what it should look like after you've sewn the pieces together. 
4) Sew the eyes onto the eyestalk over the A-B seam.
Mine is just a plain black circle, but you can also make a more standard eye with a black pupil on a white eyeball. 
5) Pin and baste the dorsal fin in place... 
...and sew all the way from point C down the back, around the tail, and ending at the dot on the pattern. Backstitch.
6) Pin and baste the side fins onto the ventral piece.
This looks so weird, doesn't it?
There, it looks more normal with the dorsal part flipped down. 
7) Sew the dorsal part to the ventral piece, leaving a gap in the side between the two dots. Backstitch. 
You'll use this gap to turn and stuff the shark. 
8) Turn right side out...
...and stuff! Use a chopstick to poke the filling into the eyestalks and tail first, then plump up the rest of the body. 
9) Ladder stitch the side gap closed.  
10) You're done! Enjoy your new sharkie friend!

All the sharks posing with the shark panel on SHB's quilt. 

Part of me is very tempted to make fifty more sharks from all my fleece scraps (sharks in every color of the rainbow!), and another part of me (the saner, more reasonable part, to my husband's relief) says there are better things I could be doing with my time (and our available storage space). So as much as I enjoy mass producing plushies, I will refrain (at least until SHB is old enough to request more, at which point I will happily acquiesce). But for those of you who don't already have two sharks too many, I hope you enjoy making one (or twenty) so that I can live vicariously through you!

Or maybe the pink and blue shark could get together and make lots of little baby sharks, while the goofy-looking red shark looks on like the most clueless third wheel ever... "Dude, can't you take a hint?"

Wednesday, May 6, 2015

The Geekiest Baby: Middle Earth Themed Accessories

We last left SHB (Small Hobbit Baby) in the Shire, playing with his One Teething Ring. After his shocking discovery of the Black Speech runes-revealed-by-drool, he realized that the only thing to do was to try to destroy the ring, So he started his long journey to Mordor, passing the Misty Mountains along the way. While taking a rest stop, he came across an old friend.

It's Smaug!!! Cue the screaming like when Lucille Bluth sees Gene Parmesan. 
Hey Chiefest and Greatest of Calamities, remember how I was able to sneak by you before?
Well, it was because of this magic ring of mine. 
See? It's got runes all over it. 
Okay, enough about me and my ring, let's see if your armor is still like tenfold shields, your teeth like swords, your claws spears, the shock of your tail a thunderbolt, your wings a hurricane, and your breath death!
Hmm, this spike is kind of bendy...looks like you've let yourself go!
Ooh, the sun is coming up. Well, it's been nice catching up, but I gotta go destroy the ring. 
Sigh, who knows when we'll see each other again? I kind of miss that little Barrel-Rider. 
Wait a second, I totally forgot I had this palantir! Maybe I'll just give him a call. Does that make me look too needy?
I think someone's calling on the palantir! Who could it be? 
Hello? Who are you and where do you come from, may I ask? 
Oh hey Smaug. Didn't we just hang out? Why are you calling already? Aren't you supposed to wait three days or something?
Dangit, I knew it was too soon. Why didn't I wait? Why do I never wait?
This is why I don't have friends; I always try too hard and scare them away. 

Okay, I know, I've got the story all wrong, but maybe SHB's cuteness will pacify all the upset Tolkien-fans who insist on strict accuracy.

As I mentioned before, I had some necessary items that I had to make for the SHB Sew-Along, and I had some frivolous items. Now that SHB is no longer a floppy newborn, he doesn't need the nursing pillow for nursing, but it's still useful as a lounging/climbing/teething pillow, and it was beginning to accumulate a rather impressive amount of drool. Spot cleaning gets old really fast, so I wanted to make a washable cover. Of course, I can't leave well enough alone, so instead of making a quick and easy utilitarian cover, I took this idea and put my own geeky spin on it. So instead of taking less than an hour, this cover took...significantly more than that. Totally worth it, though!

There's a large patch in the hollow of his left breast as bare as a snail out of its shell...I mean, there's a zipper...for easy removal for laundering purposes. 


As for the toy palantir, well, Mr. Cation wanted SHB to get familiar with handling round objects since I can't play any ball sports to save my life, so maybe early practice will keep SHB from being the pariah of pick-your-teammates P.E. classes. Again, I could've kept it simple, but this was right after the LOTR concert so I was inspired. I actually made the fancy one first, but then realized I liked it too much (and put in too much time hand-stitching) to let SHB go to town on it, so I made him his own, simpler palantir. Unfortunately, because there was less stretch in the black fabric, it ended up being less round. So much for practicing handling spheres!


Summary:
Patterns: The palantiri were made with this pattern, plus my own added eye bits. This tutorial was the basis for the pillow cover, and then lots of self-drafted pieces for the horns, wings, spikes, and face.
Fabric: One and a third yards of red fleece for the cover, plus various scraps of black fleece; various scraps for the palantiri, all from stash.
Notions: Velcro to attach the wings (because Smaug's a wingaling dragon!) and a 24" zipper for the dragon, polyfil stuffing for the palantiri

I had to make the picture grayscale in order for the details to show up at all, but the wings can detach!

Hours: Five for the cover, half an hour for the simple palantir, 1.5 hours for the fancy one.
Total cost: $5 for the red fleece; everything else was stash.
Final thoughts: I am so pleased with myself, even if both cover + toy turned out unnecessarily complicated! Sometimes you just gotta do things that make you happy, even when it's not efficient or practical. Also, red and black are ridiculously hard to photograph.

In case you're wondering about poor overeager Smaug, he did eventually find happiness. The third palantir belonged to Walnut, who was perfectly happy to answer the call to cuddle in the sunlight with a dragon.

I did not pose Walnut. I added the palantir, of course, but he snuggled up next to Smaug all on his own. 

And SHB did make it to Mt. Doom to dispose of the ring.


And that concludes the epic tale of the SHB Sew-Along over here at Cation Designs!